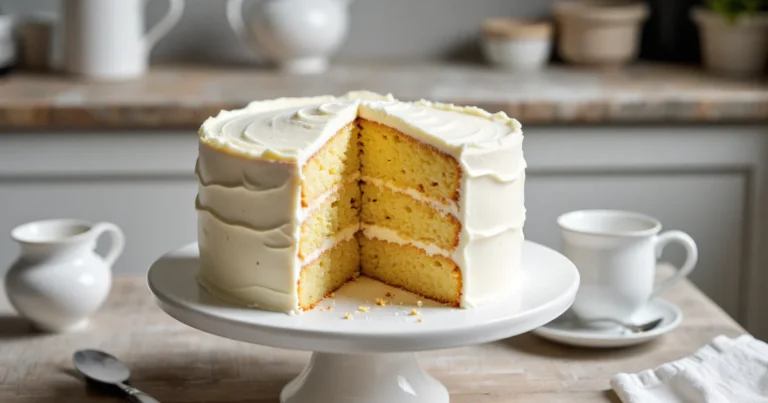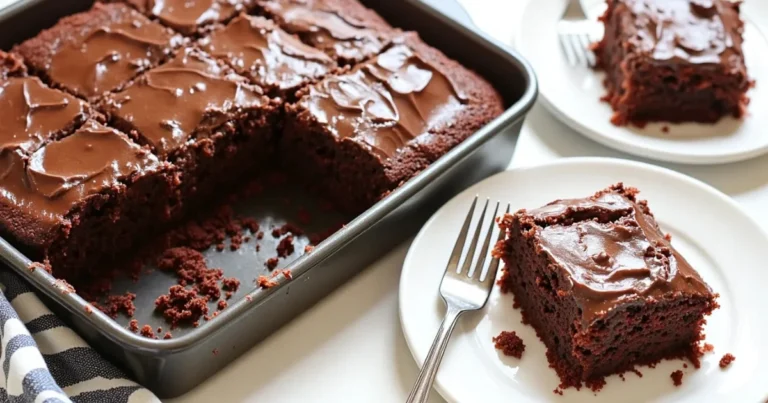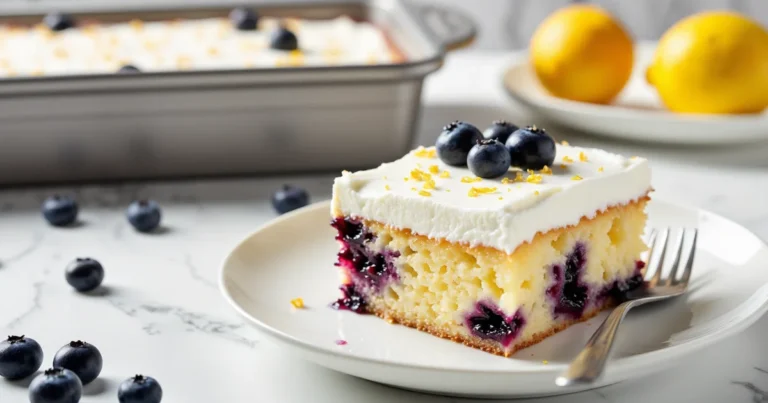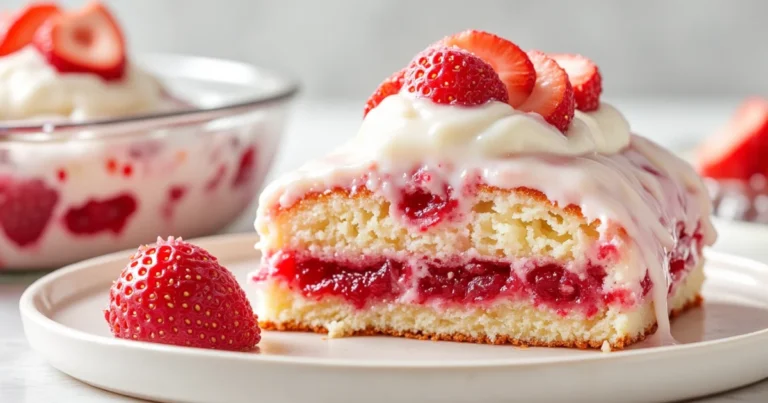
The Easiest, Most Decadent Red Velvet Poke Cake You’ll Ever Make
If you love desserts that look impressive but are surprisingly simple to make, this red velvet poke cake is about to become your new favorite. It starts with a humble box of cake mix but turns into a show-stopping dessert thanks to its rich flavor, creamy filling, and irresistible toppings.
This cake is moist, sweet, and packed with classic red velvet charm, perfect for sharing on holidays like Valentine’s Day, Christmas, or anytime you want a little something special. What makes this recipe truly unbeatable is how easy it is to customize. Whether you love cheesecake pudding, white chocolate, or a drizzle of sweetened condensed milk, there’s a version here for you.
It’s the kind of cake that disappears quickly at potlucks and family gatherings, and no one will believe it started with a box mix. Keep reading to discover exactly how to make it, along with every variation and trick you need to make it perfect every time.
If you’re just starting your poke cake journey, be sure to check out The Ultimate Guide to Poke Cake Recipes for more flavors, tips, and creative twists.
Why This is the Only Red Velvet Poke Cake Recipe You’ll Need
Some cakes are good. This one is unforgettable. What sets this red velvet poke cake apart isn’t just the flavor, it’s how simple and foolproof the process is, no matter your baking experience.
You start with a cake mix, but the end result tastes like something from a bakery. Every bite is rich, moist, and layered with sweet, creamy filling. And the best part? You get to make it your own. Whether you’re into cheesecake pudding, white chocolate, or a classic condensed milk soak, there’s a version that fits your taste perfectly.
This recipe also answers every common question bakers have, how to avoid soggy texture, how to store leftovers, and whether it can be frozen. Plus, we’ve packed in expert tips to help you get better results than any recipe you’ve tried before.
If you’ve ever made a poke cake that felt flat or too sweet, this one’s about balance. It delivers moisture without being soggy, richness without being too heavy, and enough flexibility to match any occasion or craving.
Ingredients You’ll Need
This version uses the most loved and top-rated ingredients from popular red velvet poke cake recipes, giving you the perfect balance of ease and flavor.
For the Red Velvet Cake:
- 1 box of red velvet cake mix (15.25 oz or similar)
- Ingredients listed on the box (usually eggs, vegetable oil, and water)
Optional Upgrade for Better Flavor:
Swap water with whole milk and replace oil with the same amount of melted butter. This simple change makes the cake taste richer and more homemade.
For the Cheesecake Pudding Filling:
- 2 boxes (3.4 oz each) of instant cheesecake pudding mix
(Vanilla pudding also works well if that’s what you have) - 4 cups of cold milk (whole or 2% recommended for creamier texture)
For the Topping:
- 1 tub (8 oz) of whipped topping like Cool Whip, thawed
- 10 crushed Oreo cookies
(Or use 1 cup of mini chocolate chips for a different texture)
These ingredients are easy to find and simple to work with, but together they create a dessert that feels far from basic.
Step-by-Step Instructions
Follow these clear steps to get a cake that’s moist, flavorful, and easy to serve. No guesswork, just great results.
1. Prepare the Cake
Preheat your oven to 350°F (or as directed on the cake box). Grease and lightly flour a 9×13 inch baking pan to prevent sticking.
2. Mix and Bake
Make the red velvet cake batter according to the instructions on the box. Pour the batter into your prepared pan and bake until a toothpick inserted in the center comes out clean. Let the cake rest for 5 to 10 minutes after baking.
3. Poke the Cake
While the cake is still warm, grab a wooden spoon with a round handle and poke holes all over the cake. Space them about an inch apart and make sure the holes go deep enough to hold the filling.
4. Make the Filling
In a mixing bowl, whisk the dry cheesecake pudding mix with 4 cups of cold milk until it’s smooth and thick, this should take about 1 to 2 minutes.
5. Fill the Cake
Pour the pudding mixture directly over the warm cake. Use a spatula or the back of a spoon to help the filling work its way into the holes and cover the surface evenly.
6. Chill the Cake
Cover the pan and refrigerate for at least 2 hours so the filling sets and the flavors come together. Overnight chilling works even better if you have the time.
7. Add the Topping
Once the cake is fully chilled, spread the whipped topping across the surface in an even layer.
8. Garnish and Serve
Just before serving, sprinkle crushed Oreos or mini chocolate chips over the top. Slice into squares and serve cold for the best flavor and texture.
This process keeps things simple while still delivering a bakery-style result. Each step builds moisture and flavor, giving you a cake that’s soft, creamy, and hard to resist.
The Ultimate Filling and Topping Guide
One of the best things about this red velvet poke cake is how easily you can switch up the fillings and toppings. Whether you’re going for classic or creative, there’s a version here that fits your style.
Classic Sweetened Condensed Milk Filling
Pour one 14-ounce can of sweetened condensed milk over the warm, poked cake. It soaks into every hole, making the cake extra moist and rich. No pudding needed—just a smooth, sweet finish.
Decadent White Chocolate Filling
Melt 1 cup of white chocolate chips in the microwave, then stir in a 14-ounce can of sweetened condensed milk. Once it’s smooth, pour it over the cake just like you would with the pudding.
Cheesecake Pudding Filling (Main Recipe)
This version gives you a creamy, tangy layer that pairs perfectly with red velvet. Instant cheesecake pudding is the favorite, but vanilla or white chocolate pudding work great too.
Simple Vanilla or Chocolate Pudding
Not a fan of cheesecake? Use instant vanilla or chocolate pudding instead. The process stays the same, just mix with milk and pour over the cake while it’s warm.
Nutella-Infused Filling
For a rich, chocolate-hazelnut twist, warm ½ cup of Nutella and mix it into 1 cup of vanilla pudding. Spread it over the poked cake for a deeper flavor.
Topping Options
- Whipped Topping: Cool Whip is the go-to, but homemade whipped cream works too.
- Cream Cheese Frosting: Beat together 8 oz of softened cream cheese, ¼ cup butter, 2 cups powdered sugar, and a splash of milk until smooth.
- Crunchy Add-Ons: Crushed Oreos, mini chocolate chips, shaved white chocolate, or festive sprinkles. Add just before serving to keep them crisp.
This guide gives you the flexibility to make the cake feel new every time. Mix and match your favorite options to suit the season or the crowd.
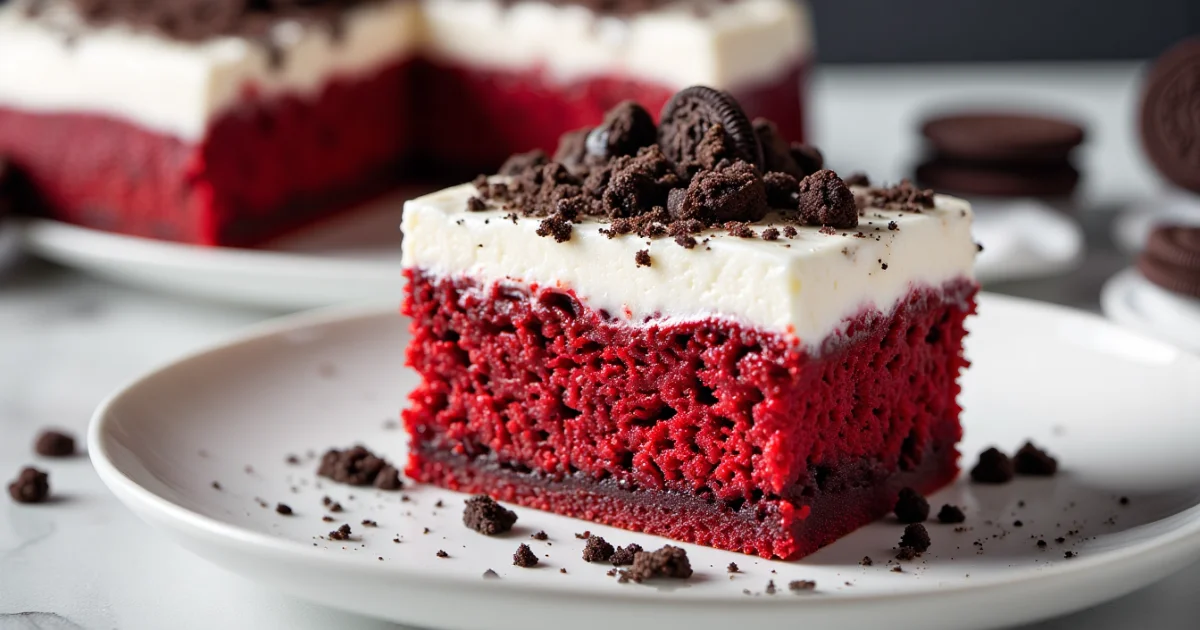
Printable Red Velvet Poke Cake Recipe Card (With Cake Mix)
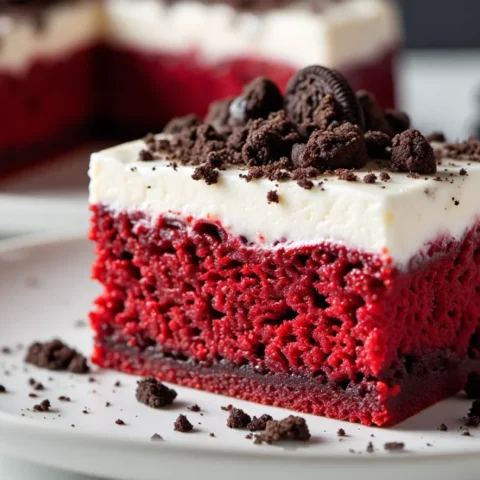
Red Velvet Poke Cake (with Cheesecake Pudding & Oreo Topping)
This red velvet poke cake is rich, creamy, and unbelievably easy to make. With a boxed cake mix base, cheesecake pudding filling, and a layer of whipped topping with Oreo crumbles, it's the perfect crowd-pleasing dessert for any occasion.
Ingredients
For the Cake:
- 1 box red velvet cake mix (15.25 oz)
- Eggs, oil, and water (as listed on the cake box)
- Optional: Replace water with whole milk and oil with melted butter
For the Filling:
- 2 boxes (3.4 oz each) instant cheesecake pudding mix (or vanilla)
- 4 cups cold milk (whole or 2%)
For the Topping:
- 1 tub (8 oz) Cool Whip, thawed
- 10 crushed Oreo cookies (or 1 cup mini chocolate chips)
Instructions
- Preheat oven to 350°F. Grease and flour a 9x13 pan.
- Prepare cake batter as directed on the box. Pour into pan and bake until a toothpick comes out clean.
- Let cake cool for 5–10 minutes. While warm, poke holes all over the surface using the round handle of a wooden spoon.
- Whisk pudding mix with cold milk until smooth. Pour immediately over the cake, spreading it to fill the holes evenly.
- Cover and refrigerate for at least 2 hours or overnight.
- Spread thawed Cool Whip evenly over the chilled cake.
- Garnish with crushed Oreos or mini chocolate chips just before serving.
Notes
Nutrition Information:
Yield: 15 Serving Size: 1 sliceAmount Per Serving: Calories: 320Total Fat: 14gSaturated Fat: 6gTrans Fat: 0gUnsaturated Fat: 6gCholesterol: 45mgSodium: 340mgCarbohydrates: 45gNet Carbohydrates: 44gFiber: 1gSugar: 30gProtein: 4g
Nutrition information is an estimate based on standard ingredient data and portion sizes. Actual values may vary depending on specific brands, preparation methods, and serving sizes. Always consult a registered dietitian or nutritionist if you have dietary concerns or requirements.
Baking From Scratch? Try This Variation
Prefer to skip the box mix? You can absolutely make a red velvet poke cake from scratch, and it’s not as complicated as you might think. This version gives you full control over flavor and texture, while still delivering the same soft, moist result.
Scratch Cake Ingredients:
- 2 ½ cups all-purpose flour
- 2 cups granulated sugar
- 2 tablespoons unsweetened cocoa powder
- 1 teaspoon baking soda
- 1 cup vegetable oil
- 1 cup buttermilk
- 2 large eggs
- 1 tablespoon white vinegar
- 1 teaspoon vanilla extract
- 2 ounces red food coloring
Instructions:
- Preheat your oven to 350°F and grease a 9×13 inch baking pan.
- In a large bowl, mix the oil, buttermilk, eggs, vinegar, vanilla, and food coloring until well blended.
- In a separate bowl, whisk together the flour, sugar, cocoa powder, and baking soda.
- Slowly add the dry ingredients into the wet mixture and beat until smooth.
- Pour the batter into the prepared pan and bake for 25 to 30 minutes, or until a toothpick inserted in the center comes out clean.
Once baked, let it cool for a few minutes and then follow the same steps for poking, filling, and topping the cake. It takes a little more effort than the boxed version, but the homemade flavor is worth every minute.
Expert Tips for the Perfect Poke Cake
These small adjustments can take your cake from good to unforgettable. Whether you’re making it for the first time or fine-tuning it for a party, these tips help you get it just right.
Use Milk and Butter Instead of Water and Oil
If you’re using a boxed cake mix, swap the water for whole milk and the oil for melted butter in equal amounts. This upgrade adds richness and makes the cake taste more homemade.
Don’t Wait Too Long to Poke
Poke the holes while the cake is still warm. This helps the filling soak in better and gives each slice more flavor.
Chill for Flavor and Structure
Refrigerating the cake for at least 2 hours helps the pudding set and the flavors blend. Overnight chilling is even better if you have the time.
Keep the Crunch
Add toppings like crushed Oreos or sprinkles right before serving. If you add them too early, they can get soft and lose their texture.
Make Ahead with Care
You can easily make this cake a day in advance. Just hold off on adding any crunchy toppings until it’s time to serve. The flavor improves overnight, making it perfect for parties and potlucks.
These tips aren’t just about better texture, they help you save time, avoid soggy mistakes, and bring out the best in every bite.
Frequently Asked Questions (FAQ)
Storing and Freezing Instructions
How to Store
This cake needs to be kept cold because of the pudding and whipped topping. Once assembled, cover the cake tightly with plastic wrap or a fitted lid and place it in the refrigerator. It will stay fresh for 4 to 5 days. For best texture, wait to add crunchy toppings like crushed Oreos until right before serving.
How to Freeze
To freeze, it’s best to do so before adding the whipped topping. Once the filled cake has cooled completely, wrap the pan tightly in plastic wrap and then in aluminum foil. Freeze for up to 3 months.
When you’re ready to serve, let the cake thaw overnight in the fridge. Once thawed, spread on the whipped topping and add your final garnishes. This makes it a great dessert to prep in advance for holidays, parties, or last-minute cravings.
Final Thoughts
This red velvet poke cake isn’t just another dessert, it’s the kind of recipe people ask for after one bite. It’s simple to make, easy to customize, and always a hit at parties, holidays, or casual get-togethers.
With a moist red velvet base, a creamy filling that soaks into every slice, and endless topping options, it strikes that perfect balance between convenience and flavor. Whether you stick with the classic cheesecake pudding and Oreo combo or try one of the other variations, you’re guaranteed a dessert that looks great and tastes even better.
Save this recipe for your next celebration—or just a Tuesday night that needs something sweet. Once you try it, it’ll earn a permanent spot in your baking rotation.
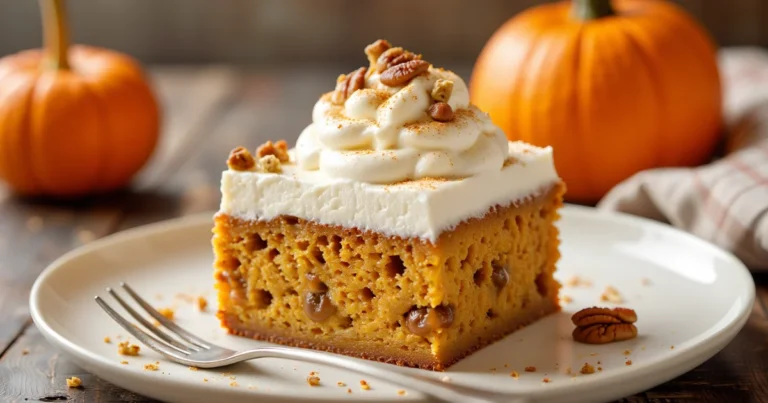
Love Poke Cakes? Discover Even More Ideas
If this Red Velvet poke cake became your new favorite, don’t stop here. There’s a whole world of flavor combinations and creative twists waiting for you. From fruity fillings to holiday-inspired bakes, we’ve covered it all.