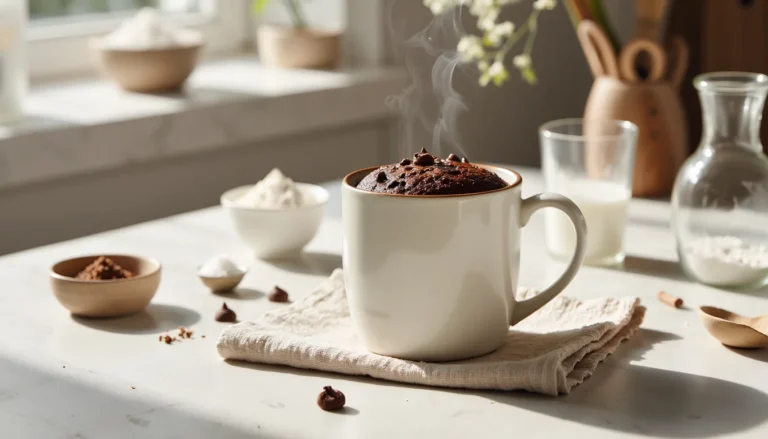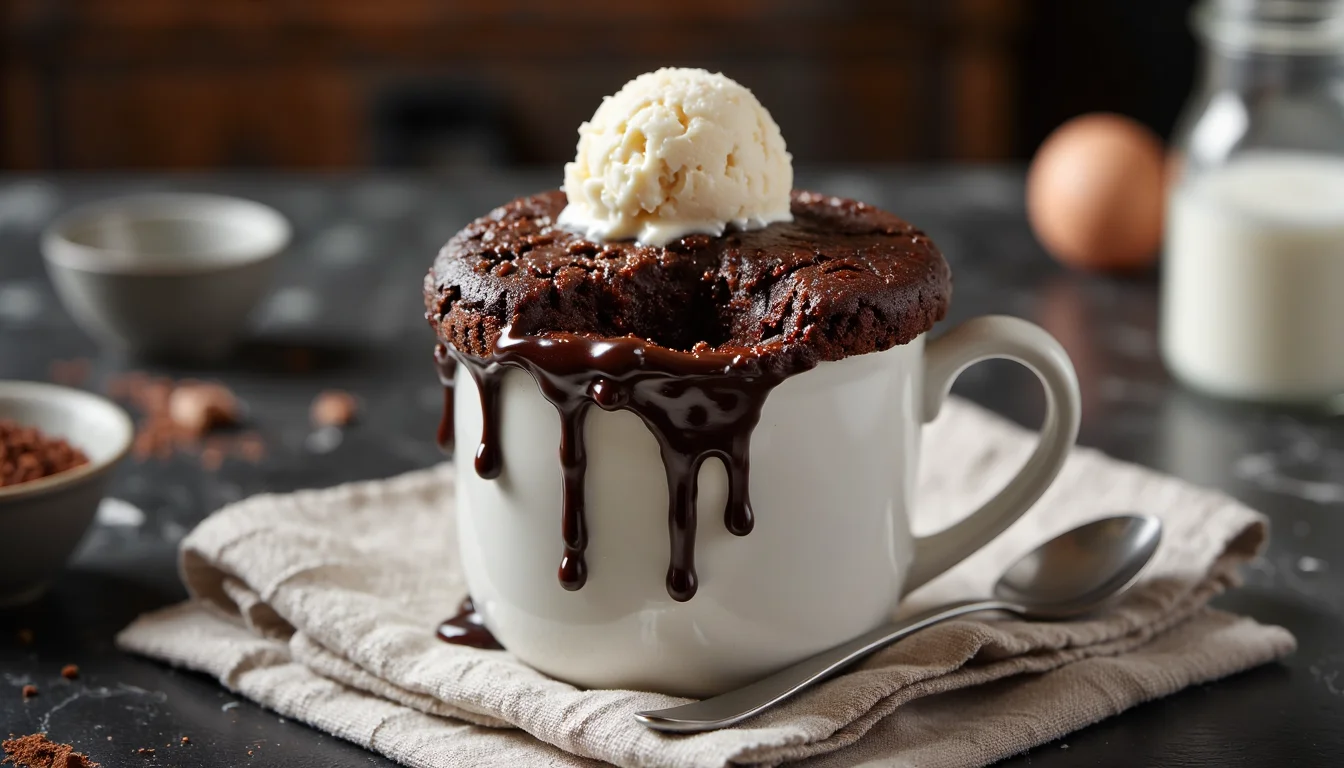
The Best Chocolate Mug Cake (Fudgy, No Eggs & Ready in 5 Minutes)
It’s 10 p.m., the sink is full of dishes, and suddenly all you can think about is warm, fudgy chocolate cake. Not a whole layer cake. Just enough for you, a spoon, and maybe an episode of your favorite show.
That’s exactly when I make this chocolate mug cake. One mug, a fork, and a microwave. No egg, no mixers, no turning on the oven. Just whisk, zap, eat.
The batter comes together right in the cup, so you’re not left scrubbing bowls at midnight. And because we skip the egg and use oil, it stays soft and brownie-like instead of turning into a rubbery sponge. Total lifesaver.
Top it with a scoop of ice cream, or just grab it straight from the microwave and call it “self-care.”
Craving more cozy single-serve desserts? Head over to The Ultimate Guide to Mug Cakes for flavor ideas, timing tricks, and troubleshooting all in one place.
Why This Recipe Works (The Science)
When I first tried mug cakes with an egg, they looked amazing for about 10 seconds… then turned bouncy and weirdly chewy. You know that rubbery, omelet-cake situation? Never again.
No egg = fudgy, not rubbery
In a full-size cake, eggs help build structure. In a tiny mug, that same power is too intense. One whole egg in a single serving is like adding three eggs to a small pan of brownies: the texture goes tough and spongy.
So here, all the structure comes from flour + baking powder, and all the moisture comes from milk and oil. That balance keeps the crumb soft, silky, and just a little gooey in the middle. More brownie than birthday cake.
Oil vs. butter
Butter tastes amazing, but in the microwave it can make mug cakes feel dense once they cool. Oil stays liquid at room temperature, so the cake feels moist even as it sits. It also means no melting step. Just measure and stir.
And because we use neutral oil, the chocolate flavor stays front and center instead of getting muted by greasy richness.
The microwave “steam” effect
Microwaves heat liquid quickly from the inside out. In this recipe, the milk + oil create tiny pockets of steam that help the cake rise fast. The chocolate chips melt into little molten spots, so you get that lava-center effect without extra work.
Cook it just until the top looks set but still shiny and slightly soft in the center, and the carryover heat finishes the job. That’s the sweet spot. Literally.
Ingredients You Need
Good news: you probably have almost everything already. That’s the whole point of this little late-night lifesaver.
Dry ingredients
- All-purpose flour
Just regular white flour from your pantry. Measure 1/4 cup, but don’t pack it in. Spoon it into the cup, then level it off with a knife. Packed flour = dry cake. - Unsweetened cocoa powder
Natural or Dutch-process both work. Natural gives a classic, cozy chocolate flavor. Dutch is darker and a bit richer. Use what you have; just make sure it’s unsweetened, not hot cocoa mix. - Granulated sugar
Two tablespoons makes it nicely sweet without going overboard. If you like things extra sweet, add an extra teaspoon. Totally your call. - Baking powder
This is what makes the batter puff up quickly in the microwave. Double-check you’re not grabbing baking soda by mistake. Different job. - Salt
Just a pinch. It won’t make the cake salty; it simply wakes up the chocolate and keeps the sweetness from tasting flat. Magic.
Wet ingredients
- Milk
Any milk works: whole, 2%, almond, oat, soy. Dairy will taste slightly richer, but plant milk is perfect if you want an eggless, dairy-free treat. In a pinch, you can use water, but it’ll be a bit less creamy. - Neutral oil
Canola, vegetable, light olive, or melted coconut oil. Oil keeps the crumb soft and moist even after the cake cools slightly. No melting butter, no extra dishes. - Vanilla extract
Just a splash for bakery-style flavor. It makes the chocolate taste more chocolatey.
The “secret” mix-in
- Chocolate chips or chopped chocolate
Stirring a tablespoon into the center of the batter gives you melty, lava-like pockets inside your cake in a cup. They sink slightly as it cooks and create that fudgy middle everyone actually wants.
How to Make Chocolate Mug Cake (Step-by-Step)
You don’t need to clear the counter for this. It all happens in one mug with a fork.
1. Choose the right mug
Pick a microwave-safe mug that holds at least 12 to 14 ounces. This gives the batter room to rise without spilling over the sides. If you’re nervous about sticking, lightly mist the inside with cooking spray or rub it with a bit of oil.
2. Whisk the dry ingredients
Add the flour, cocoa powder, sugar, baking powder, and a pinch of salt straight into the mug. Use a fork to whisk everything together until the color looks totally even and you don’t see streaks of cocoa.
Check the very bottom corners of the mug; flour likes to hide there.
3. Stir in the wet ingredients
Pour in the milk, oil, and vanilla. Stir with your fork until the batter is smooth and glossy, scraping the sides and bottom really well. It should look like slightly thick brownie batter, not dry or pasty. If it seems too thick to stir, add another teaspoon of milk.
4. Add the molten center
Sprinkle the chocolate chips right into the middle of the batter. Don’t overthink it. Just drop them in and let them sink a little on their own. They’ll melt into gooey pockets as the cake cooks.
5. Microwave
Place the mug in the center of the microwave. Cook on High for about 70 seconds in a 1000W microwave. The top should look set around the edges but still a bit shiny and soft in the center.
If it’s still very wet on top, keep microwaving in 10 to 15 second bursts. And remember, it will keep cooking from residual heat once it’s out.
6. Let it rest, then serve
Let the mug cake stand for 1 to 2 minutes. This short rest helps the middle finish setting while staying fudgy.
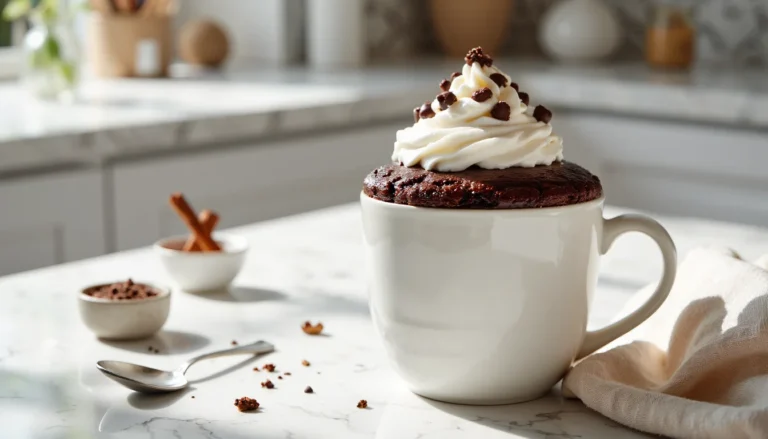
Top with ice cream, whipped cream, or just grab a spoon and eat it straight from the mug. Zero judgment.
Critical Tip: Don’t Overcook It!
If you’ve ever made a mug cake that turned out bouncy or dry, it almost always comes down to one thing: too much time in the microwave. Just 10–15 extra seconds can push it from fudgy to spongey.
Microwaves don’t all cook at the same power, so a “1-minute chocolate cake” isn’t one-size-fits-all. A dorm microwave usually runs weaker than a shiny new one in a new apartment. Same batter, totally different results.
Here’s a simple timing guide to use as a starting point:
- 700W microwave: 85–90 seconds
- 900W microwave: 70–80 seconds
- 1000W microwave: 65–75 seconds
- 1200W microwave: 55–65 seconds
Always start on the low end of the range. You can add more time. You can’t take it back.
Visual doneness cues
Don’t rely only on the clock. The cake will tell you when it’s ready:
- The edges should look set and slightly pulled away from the mug.
- The top should look mostly set but still a bit shiny or slightly sticky in the very center.
- If you gently tap the mug, the center can wobble just a tiny bit, like a lava cake.
If the top still looks like wet batter, microwave in 10-second bursts, checking after each one. But stop as soon as the surface looks mostly dry with that soft center. That’s your fudgy zone.
And remember the carryover effect: the cake keeps cooking from its own heat after you pull it out. That’s why I always let it sit for 1–2 minutes before digging in. Hot, steamy, perfectly soft. Not rubbery.
Troubleshooting: Why is my mug cake…
Let’s fix the common mug cake drama before it happens.
…rubbery or tough?
Two usual suspects: overcooking and eggs.
Because this recipe is egg-free, you’ve already dodged half the problem. Eggs in a single-serving cake can turn it bouncy and chewy very fast.
The other half is time. If your cake feels rubbery or dry, it probably spent a little too long in the microwave. Next time, shave off 10–15 seconds and rely more on the visual cues: set edges, slightly shiny center, soft but not liquid.
Overmixing can make it dense too. You only need to stir until the batter looks smooth. No need to beat it like frosting. Gentle is fine.
…overflowing?
That mess on the turntable? Usually a mug issue.
Make sure your mug holds at least 12 ounces (about 1½ cups) and isn’t filled more than halfway with batter. The cake puffs up quickly, then settles a bit as it cools. If the mug is too small or very narrow, it has nowhere to go but over the sides.
If you’re unsure, place your mug on a small plate before microwaving. Easy insurance.
…dry or crumbly?
Dry mug cake is almost always about flour and time.
First, check how you’re measuring flour. If you scoop straight from the bag with the measuring cup, you’re likely packing in extra. Instead, fluff the flour, spoon it into the cup, then level it off. That one tiny habit change makes a huge difference.
Second, watch the cook time. When in doubt, undercook slightly. A slightly underdone center will finish setting as it rests, staying moist and fudgy. A fully dry top and firm center means it went a bit too far.
If your microwave runs extra hot (I have one that nukes everything), try reducing the cook time by 10 seconds and see if that fixes it. Dessert science experiment. But you get to eat the results.
3 Delicious Variations
Once you’ve nailed the base mug cake, it’s way too easy to play. Same batter, tiny tweaks, totally different vibe.
Peanut Butter Swirl
For peanut butter cup energy.
- After you mix the batter, drop 1 tablespoon of creamy peanut butter right into the center.
- Use a toothpick or butter knife to gently swirl it through the top half of the batter. Don’t fully mix it in; you want ribbons, not uniform batter.
- Microwave as usual.
You’ll get pockets of salty-sweet peanut butter running through the fudgy cake. So good with a little extra drizzle on top.
Nutella Lava
This one tastes like a bakery molten cake in a mug.
- Spoon the batter into the mug.
- Add 1 tablespoon of Nutella on top.
- Don’t stir. Just leave it sitting there like a little chocolate-hazelnut island.
As it cooks, the batter rises around the Nutella and leaves you with a gooey, lava-like center. It’s intense. Definitely a “top with ice cream” situation.
Mexican Hot Chocolate
For a cozy, slightly spicy twist.
- Whisk a big pinch of ground cinnamon and a tiny pinch of cayenne or chili powder into the dry ingredients.
- Mix and cook as usual.
You’ll get warm spice, deeper chocolate flavor, and the tiniest hint of heat in the back of your throat. It’s subtle, not blow-your-head-off spicy. Perfect on a cold night with whipped cream on top.
Storage & Make-Ahead
Most of the time, this chocolate mug cake disappears within five minutes. But you can still get a little bit ahead of your cravings.
Storing a baked mug cake
If you somehow have leftovers (impressive), let the cake cool completely, then cover the mug tightly with plastic wrap or transfer the cake to a small airtight container. Store in the fridge for up to 2 days.
To reheat, microwave in the mug in 10–15 second bursts just until warm. It won’t be quite as oozy as fresh, but it’ll still satisfy a chocolate emergency.
Make-ahead “mug cake mix”
The real magic trick is prepping the dry mix ahead of time so you only have to add the wet ingredients when a craving hits.
In a small bowl, whisk together the flour, cocoa powder, sugar, baking powder, and salt. Pour into a small jar or zip-top bag and label it with:
- “Chocolate Mug Cake Mix”
- “Add: milk, oil, vanilla + chocolate chips”
- “Microwave: about 1 minute”
Store the mix at room temperature for up to 1 month.
When you’re ready for dessert, dump the mix into your mug, add the wet ingredients, stir, and microwave. Instant mug cake without dragging out the flour and sugar every single time.
These little jars also make cute gifts. Layer the dry ingredients so you can see the stripes, tuck in a few chocolate chips on top, and tie on a tiny tag with the directions. Chocolate cake in a cup, ready to go.
Chocolate Mug Cake Printable Recipe Card
The Best Chocolate Mug Cake (No Egg)
A rich, fudgy chocolate mug cake for one that cooks in about a minute in the microwave. No egg, no mixer, and super moist every time.
Ingredients
- 1/4 cup (30 g) all-purpose flour
- 2 tablespoons unsweetened cocoa powder
- 2 tablespoons granulated sugar (add 1 teaspoon more if you like it very sweet)
- 1/4 teaspoon baking powder
- Pinch of salt
- 1/4 cup plus 1 tablespoon milk (dairy or plant-based)
- 2 tablespoons neutral oil (canola, vegetable, light olive, or melted coconut oil)
- 1/4 teaspoon vanilla extract
- 1 tablespoon semi-sweet chocolate chips or chopped chocolate
Instructions
- Lightly grease a microwave-safe mug that holds at least 12 to 14 ounces, or leave it ungreased if you prefer a taller rise.
- Add the flour, cocoa powder, sugar, baking powder, and a pinch of salt to the mug and whisk with a fork until the mixture looks evenly combined with no streaks of cocoa.
- Pour in the milk, oil, and vanilla and stir with the fork until the batter is smooth and glossy, scraping the bottom and sides of the mug very well.
- If the batter looks very thick or pasty, stir in an extra teaspoon of milk until it looks like thick brownie batter that’s easy to stir.
- Sprinkle the chocolate chips or chopped chocolate into the center of the batter and let them sit without stirring so they create a molten pocket as the cake cooks.
- Place the mug in the center of the microwave and cook on High for about 65 to 75 seconds in a 1000W microwave, or adjust the time based on your microwave wattage.
- Check the cake: the edges should look set and the top should be mostly set but still slightly shiny and soft in the very center; if it still looks like wet batter, microwave in 10-second bursts.
- Let the mug cake rest for 1 to 2 minutes so the center finishes setting and the texture turns fudgy, then serve warm with your favorite toppings like ice cream or whipped cream.
Notes
- Use a microwave-safe mug that holds at least 12 ounces (about 350 ml) and fill it no more than halfway with batter to prevent overflow.
- For the best texture, measure the flour by spooning it into the measuring cup and leveling it off instead of scooping straight from the bag.
- Microwave timing will vary: weaker microwaves (around 700W) may need 85 to 90 seconds, while stronger ones (around 1200W) may only need 55 to 65 seconds.
- The cake is done when the edges look set and the center is still slightly shiny and soft; it will keep cooking from residual heat as it rests.
- To make it dairy-free or vegan, use plant-based milk and dairy-free chocolate chips; the recipe is already naturally egg-free.
- You can use water instead of milk in a pinch, but the cake will be a little less rich; add a tiny splash of extra oil and vanilla for better flavor.
- Leftover mug cake can be cooled completely, covered, and stored in the fridge for up to 2 days, then rewarmed in 10 to 15 second bursts in the microwave.
- For a make-ahead option, whisk the dry ingredients and store as “mug cake mix” in a small jar or bag at room temperature for up to 1 month, then just add milk, oil, vanilla, and chocolate chips before cooking.
Nutrition Information:
Yield: 1 Serving Size: 1 MugAmount Per Serving: Calories: 550Total Fat: 30gSaturated Fat: 7gCarbohydrates: 65gSugar: 40gProtein: 8g
Nutrition values are estimates and will vary based on ingredients and brands.
FAQs
Love This Recipe? Discover More Mug Cake Favorites
If this mug cake hit the spot, don’t miss The Ultimate Guide to Mug Cakes. Inside you’ll find small-batch classics, over-the-top flavor combos, and quick fixes for every rubbery or overflowed mug moment. From brownie-style chocolate to bright lemon and gooey cookie dough, there’s a microwave treat for every craving.