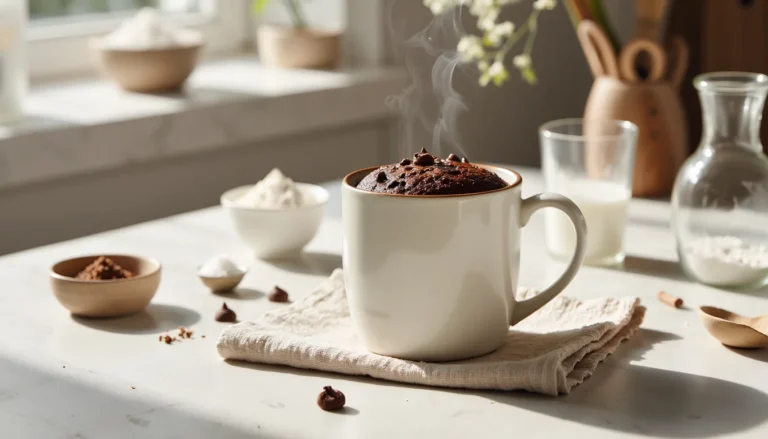
Fudgy Chocolate Protein Mug Cake (Ready in 1 Minute!)
There’s that moment at night when you want chocolate so badly you’re pacing the kitchen, but you also promised yourself “no random brownies this week.” Been there. I used to grab a sad protein bar and pretend it was dessert. Zero fun.
That’s where this little protein mug cake came from: late-night cravings plus a jar of protein powder staring at me from the counter. I wanted something warm, gooey, actually chocolatey, and not that weird bouncy texture you get when you just microwave straight protein. Total science experiment.
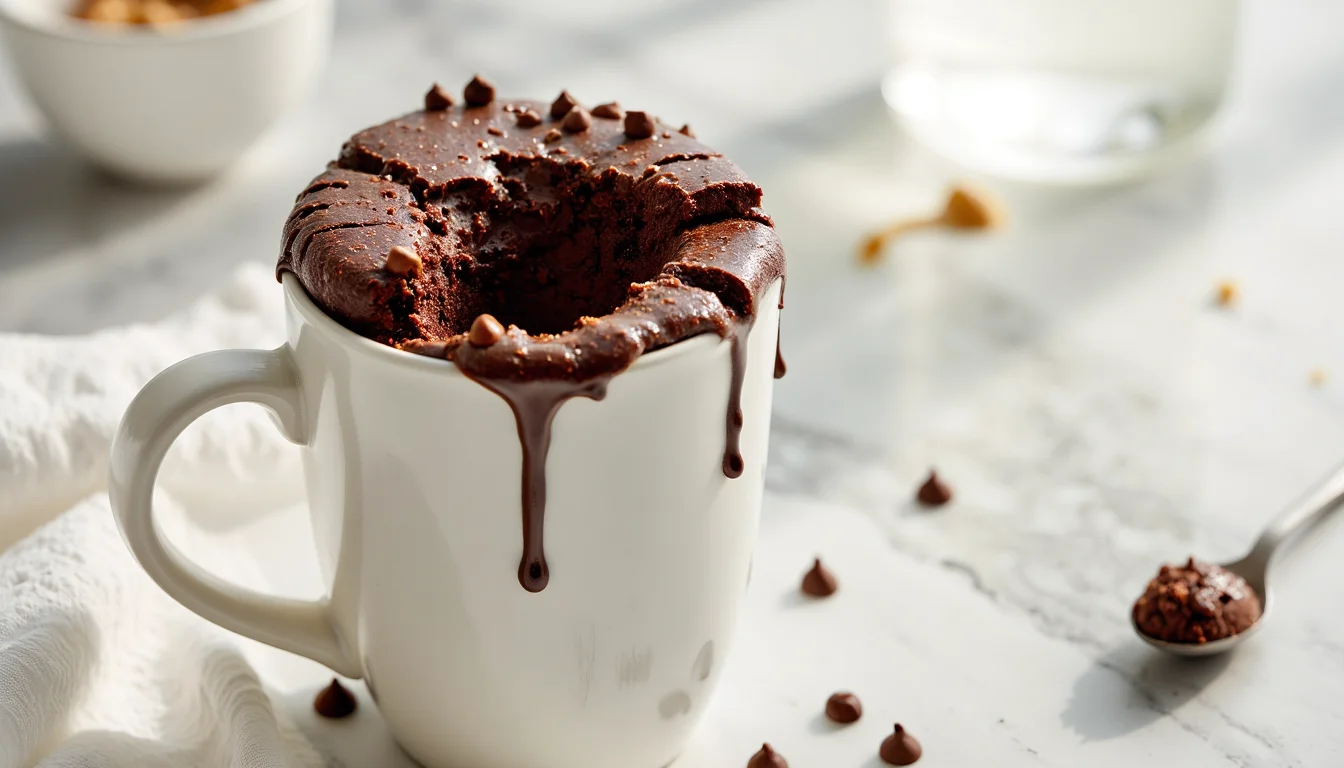
After a lot of rubbery fails, I finally landed on a simple ratio of protein, flour, fat, and milk that cooks up like a fudgy brownie in a mug. No banana to hijack the flavor. Just a deep cocoa hit, melty chocolate chips, and over 20 grams of protein in about 90 seconds.
You stir everything right in the mug, pop it in the microwave, and watch the top puff up and crackle like a tiny lava cake. Then you grab a spoon, sink it into the soft center, and suddenly “high-protein dessert” feels like an actual treat, not a punishment.
Craving more cozy single-serve desserts? Head over to The Ultimate Guide to Mug Cakes for flavor ideas, timing tricks, and troubleshooting all in one place.
Why you’ll love this protein mug cake
First, it actually tastes like dessert. You get a rich, brownie-style chocolate flavor with a soft, gooey center instead of a dry sponge that squeaks against your teeth. The cocoa plus a few chocolate chips make it feel like a real treat, not “health food disguised as cake.”
It’s also sneaky-high in protein. One mug gives you 20–25 grams, depending on your powder, which makes it perfect after a workout or as a late-night snack that won’t leave you hungry again in ten minutes. Big win.
And it’s fast. You whisk everything right in the mug, microwave for about a minute, let it sit, and you’re done. No bowls to wash. No preheating the oven. I’ve made this in pajamas while my kids’ mac and cheese was cooling. Priorities.
The recipe is flexible too. You can use whey or plant-based protein, swap in almond flour to keep it gluten-free, and choose your milk: dairy, almond, oat, whatever’s already open in the fridge. Want it lower sugar? Use a zero-calorie sweetener and sugar-free chocolate chips.
Plus, you can dress it up. Add a peanut butter drizzle, a dollop of Greek yogurt “frosting,” or a scoop of frozen berries on top. Or just eat it straight from the mug with a spoon in one hand and Netflix in the other. No judgment here.
Ingredients & substitutions
Let’s talk about what actually goes into this little cake and why it works so well. Once you understand the pieces, you can tweak it for whatever protein you have in your pantry. Or whatever’s on sale.
The protein powder
You’ll need about 1 scoop (25–30 g) of chocolate protein powder. Whey, whey blend, or a smooth pea protein all work here. Whey tends to dissolve more easily and gives a softer, lighter texture. Plant-based powders soak up more liquid, so they need a splash extra milk. I’ll flag that for you in the recipe card.
If your powder is very sweet, use less maple syrup or skip it and rely on the chocolate chips. Using plain or unflavored protein? Add an extra teaspoon of sweetener and a little more cocoa to keep it tasting like dessert.
The flour base (oat vs almond)
A tablespoon of oat flour (just blended oats) gives the cake structure so it doesn’t turn into cooked protein paste. Almond flour works too and keeps it naturally gluten-free and more low-carb. Oat flour makes it a bit more “cakey,” almond flour makes it slightly richer and more tender. Both are good.
If you’re out of both, you can try fine ground coconut flour, but cut it in half and add more milk. It’s super thirsty.
The fat source (nut butter or oil)
Fat is the difference between fudgy brownie vibes and rubbery sponge. I like 1 tablespoon of peanut butter for a Reese’s-style flavor and a little extra protein. Almond butter, cashew butter, or melted coconut oil all work.
Trying to save a few calories? You can use powdered peanut butter plus a teaspoon of oil, but don’t skip fat entirely. That’s when things go wrong.
Liquid & sweetener options
Use about 1/4 cup milk of choice: dairy, almond, oat, soy. For thick plant protein, add up to 1 extra tablespoon. The batter should look like thick pancake batter, not cement. And not soup.
For sweetness, 1–2 teaspoons of maple syrup or honey is plenty if your powder is already flavored. You can swap in granulated sugar, coconut sugar, or a sugar-free sweetener like monk fruit. Just taste the batter and adjust before microwaving.
Mix-ins & topping ideas
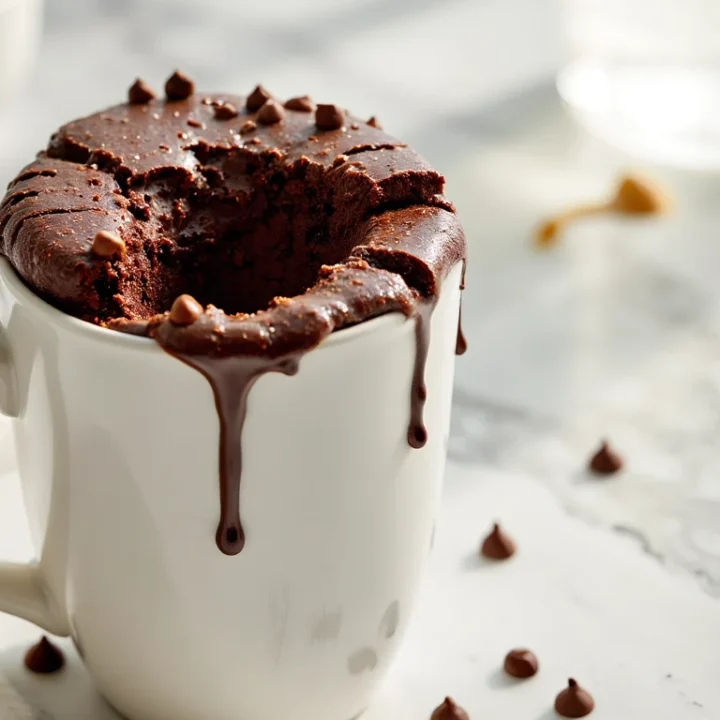
For the “lava” effect, I stir in about 1 tablespoon of chocolate chips, then scatter a few on top. You can also add a spoonful of mini marshmallows, chopped nuts, or a swirl of Nutella.
On top after cooking, try a blob of Greek yogurt mixed with a little sweetener, sliced strawberries, or a drizzle of warm peanut butter. My personal favorite: a quick spoon of vanilla Greek yogurt so it feels like cake with ice cream, but still protein-packed.
How to make the perfect mug cake (step-by-step)
Step 1: Choose the right mug & prep it
Grab a microwave-safe mug that holds at least 12 ounces. Anything smaller and you risk chocolate volcano vibes. A ramekin works too.
Lightly spray or rub the inside with a tiny bit of oil or butter. This keeps the cake from sticking and makes cleanup easier. Optional, but nice.
Step 2: Whisk the dry ingredients
Add your protein powder, oat or almond flour, cocoa powder, baking powder, and a pinch of salt straight into the mug.
Use a fork or small whisk to mix until everything looks evenly brown, with no streaks of white protein powder. Break up any clumps now; they won’t disappear in the microwave.
Step 3: Add the wet ingredients
Pour in the milk, nut butter or melted oil, maple syrup (if using), and vanilla. Stir slowly, scraping the bottom and corners of the mug.
You’re aiming for a batter that’s like thick pancake batter. If it looks like frosting or paste, add milk 1 teaspoon at a time. If it’s runny like hot chocolate, sprinkle in a tiny bit more flour or protein.
Fold in about half of your chocolate chips, then sprinkle the rest on top. Already looks good.
Step 4: Microwave timing by wattage
Place the mug in the center of the microwave. My recipe is tested in a 1000W microwave. I start at 45–50 seconds on High.
If your microwave is weaker (700–900W), you may need 60–75 seconds. If it’s super powerful (1100W+), start at 35–40 seconds. Short bursts are safer than one long cook.
Step 5: How to tell when it’s done
The top should be puffed, mostly set, and just a little glossy in the very center. When you gently tap it with your fingertip, it should feel soft and springy around the edges but still a bit squishy in the middle. Slightly under is better than over.
If there’s still obvious liquid batter, microwave in 10–15 second bursts, checking each time. Then let the mug cake sit on the counter for about a minute. It keeps cooking as it rests and settles into that fudgy, brownie-like texture.
Troubleshooting: avoiding the rubbery texture
We’ve all had that sad, bouncy mug cake you could probably use as a sponge. Protein powder makes this more likely, but it’s fixable. Once you know what causes the rubber, you can avoid it every single time.
Why protein cakes go rubbery
Two main culprits: overcooking and too much dry stuff, not enough moisture. Protein powders, especially whey, set fast in the microwave. A few extra seconds can turn fudgy into chewy.
If you’ve ever kept hitting “another 30 seconds” because the middle looked a bit shiny, that’s usually where things go wrong. Slightly glossy on top is good. Fully dry and cracked all over is a sign it’s overdone.
Plant-based proteins can get chalky because they absorb more liquid. If you don’t increase the milk even a little, the batter starts out too thick, so it cooks up dense and tough.
Fixes for dry or spongy results
First, shorten the cook time. Start lower than you think, then add 10–15 second bursts only if the center is still clearly liquid. You can always cook more. You can’t uncook rubber.
Second, check your batter. If it’s thicker than brownie batter and hard to stir, add extra milk a teaspoon at a time. It should slowly drip off the spoon, not sit there like dough.
Don’t skip the rest time after microwaving. Letting the cake sit for about a minute lets the heat spread out and the center finish cooking gently, instead of blasting it with more microwave time.
Adjusting for whey vs plant-based protein
For whey protein, you generally need less liquid. If you use the full 1/4 cup of milk and your batter is very thin, sprinkle in another teaspoon of oat or almond flour. Whey will still set quickly, so stay on the low end of the cook time.
For pea or other plant-based protein, plan on a bit more milk. Start with the 1/4 cup, then add up to 1 extra tablespoon if it’s very thick. Plant powders are thirsty and can turn the cake dry if you don’t give them enough moisture.
If a plant-based version still feels dense, add a touch more fat next time, like an extra teaspoon of nut butter or oil. More moisture plus a little extra fat usually brings it back to that soft, fudgy, spoon-worthy texture.
3 delicious variations
Once you’ve nailed the base recipe, you can change the vibe with a couple of tiny tweaks. Same basic method. Same mug. Totally different mood.
3-ingredient banana version (oil-free)
For the nights when you do want banana in there, this one is ridiculously simple. In your mug, combine:
- 1 scoop chocolate protein powder
- 1–2 tablespoons mashed ripe banana
- 1–2 tablespoons milk, just enough to make a thick batter
Skip the flour and oil. The banana does the binding and keeps it moist. If your banana isn’t super ripe, add a teaspoon of sweetener.
Microwave in short bursts just like the main recipe. This version cooks fast, and overcooked banana can taste a bit rubbery, so start low. The texture ends up somewhere between a brownie and a warm protein banana bread.
Molten lava center (chocolate square)
This one feels fancy but takes an extra five seconds. Make the base batter as written, then:
- Spoon half the batter into the mug.
- Nestle a small chocolate square or chunk right in the center.
- Cover with the rest of the batter and a few chocolate chips on top.
Microwave as usual. When you dig in, that hidden square melts into a gooey pool in the middle. It’s like a mini lava cake, but high protein. And you don’t have to share it with anyone.
Birthday cake (vanilla + sprinkles)
Turn it into a party mug. Swap the chocolate vibes for vanilla and color:
- Use vanilla protein powder instead of chocolate.
- Skip the cocoa powder.
- Add 1/4 teaspoon vanilla extract and a tablespoon of white chocolate chips if you have them.
- Fold in 1–2 teaspoons of rainbow sprinkles at the very end.
Microwave just until set, then top with a dollop of whipped cream or vanilla Greek yogurt and a few extra sprinkles. Suddenly your high-protein snack looks like a tiny celebration. Even if it’s just Tuesday.
Storage & meal prep
Mug cakes are kind of a “make it, eat it now” situation, but you can prep parts of this recipe ahead. Handy for busy weeks or office snacks when the 3 p.m. chocolate craving hits hard.
Make-ahead dry mix jars
The easiest option: prep the dry ingredients in little jars or zip-top bags. In each one, combine:
- Protein powder
- Oat or almond flour
- Cocoa powder
- Baking powder
- Salt
Label the jar with “add: 1/4 cup milk, 1 tbsp nut butter/oil, 1–2 tsp sweetener” so you don’t have to think later. When you’re ready to bake, just dump the mix into a mug, whisk in the wet ingredients, add chocolate chips, and microwave. Two minutes, tops.
These dry mixes keep well at room temperature for a couple of weeks, as long as your kitchen isn’t super hot and humid. I like to stash one or two in my work bag for “emergency dessert.” Totally a thing.
Storing leftovers & reheating
To be honest, this cake is at its best within about 10–15 minutes of cooking. Warm, soft, a little gooey in the center. That said, if you can’t finish it, let the mug cool, cover the top, and store it in the fridge for up to 1 day.
When you’re ready to eat, remove any cold toppings like yogurt, then microwave the mug in 10–15 second bursts just until warmed through. It won’t be quite as lava-like as fresh, but still good. If it seems a little dry, a splash of milk or a spoonful of yogurt on top helps a lot.
Can you bake it in the oven?
Yes, you can. If you don’t have a microwave, pour the batter into an oven-safe ramekin that holds at least 8–10 ounces.
Bake at 350°F for about 12–15 minutes, until the edges look set and a toothpick in the outer ring comes out mostly clean. The very center can stay slightly soft if you like it fudgy. Just keep an eye on it near the end. Overbaked in the oven will still go rubbery, so pull it as soon as the middle looks just barely set.
Protein Mug Cake Printable Recipe Card
Fudgy Chocolate Protein Mug Cake (No Banana!)
A fudgy, brownie-style chocolate protein mug cake with no banana, over 20g of protein, and a gooey center that’s not rubbery. Ready in about 2 minutes, with gluten-free and dairy-free options.
Ingredients
For the mug cake:
- 1 scoop (25–30 g) chocolate protein powder (whey or plant-based)
- 1 tablespoon oat flour (or almond flour for gluten-free/keto)
- 1 tablespoon unsweetened cocoa powder
- 1/2 teaspoon baking powder
- Pinch of fine sea salt
- 1/4 cup (60 ml) milk of choice (dairy, almond, oat, soy)
- Up to 1 tablespoon extra milk if using plant-based protein powder
- 1 tablespoon creamy peanut butter, other nut butter, or melted coconut oil
- 1–2 teaspoons maple syrup or honey, or sweetener of choice, to taste
- 1/4 teaspoon vanilla extract (optional)
- 1 tablespoon chocolate chips, divided
Optional toppings:
- Greek yogurt or whipped topping
- Extra chocolate chips or chopped chocolate
- Peanut butter or nut butter drizzle
- Fresh berries or sliced banana
Instructions
- Lightly grease a microwave-safe mug (at least 12 ounces) with cooking spray, oil, or butter.
- Add the protein powder, oat or almond flour, cocoa powder, baking powder, and a pinch of salt to the mug.
- Whisk the dry ingredients together with a fork until evenly combined and no lumps of protein powder remain.
- Add 1/4 cup milk, the nut butter or melted coconut oil, maple syrup or other sweetener, and vanilla extract to the mug.
- Stir well, scraping the bottom and sides, until you have a smooth, thick batter that looks like thick pancake or brownie batter.
- If the batter is very thick or paste-like, especially with plant-based protein, add extra milk 1 teaspoon at a time until it slowly drips off the spoon.
- Fold in about half of the chocolate chips, then sprinkle the remaining chips over the top of the batter.
- Place the mug in the center of the microwave and cook on High for 45–50 seconds in a 1000W microwave.
- Check the cake: the top should be puffed, mostly set, and slightly glossy or soft in the very center.
- If there is still obvious liquid batter on top, continue microwaving in 10–15 second bursts, checking after each burst.
- Do not overcook; slightly underdone is better than dry and rubbery.
- Let the mug cake rest on the counter for about 1 minute to finish setting and cool slightly.
- Top with Greek yogurt, extra chocolate, nut butter, or berries, if desired, and enjoy warm straight from the mug.
Notes
- This recipe was tested in a 1000W microwave; if your microwave is lower wattage (700–900W), you may need an extra 10–20 seconds, and if it is higher wattage (1100W+), start with a few seconds less.
- For whey protein, you will usually need only the 1/4 cup milk; if the batter seems thin, sprinkle in up to 1 extra teaspoon of oat or almond flour.
- For pea or other plant-based protein powder, plan to add up to 1 tablespoon extra milk so the batter does not start out too thick and dry.
- The cake is done when the edges are set and the top is puffed with a slightly glossy or tacky center; it should feel soft and springy around the edges when gently tapped.
- Letting the cake rest for about 1 minute after microwaving helps the center finish cooking gently without turning rubbery.
- To bake in the oven instead of the microwave, pour the batter into a greased 8–10 ounce oven-safe ramekin and bake at 350°F for about 12–15 minutes, just until the edges are set and the center is slightly soft.
- For meal prep, combine the dry ingredients (protein powder, flour, cocoa, baking powder, salt) in small jars or bags; when ready to eat, stir into a mug with the milk, fat, and sweetener, add chocolate chips, and microwave.
- For a 3-ingredient banana version, mix 1 scoop chocolate protein powder, 1–2 tablespoons mashed ripe banana, and 1–2 tablespoons milk into a thick batter, then microwave in short bursts until just set.
- For a birthday cake-style variation, use vanilla protein powder, omit the cocoa, add vanilla extract, and fold in rainbow sprinkles with white chocolate chips.
- Best texture is within 10–15 minutes of cooking; if you have leftovers, refrigerate up to 1 day in the mug and rewarm in 10–15 second bursts, adding a splash of milk or a spoonful of yogurt if needed.
Nutrition Information:
Yield: 1 Serving Size: 1 MugAmount Per Serving: Calories: 300Total Fat: 11gSaturated Fat: 4gCarbohydrates: 28gSugar: 12gProtein: 22g
Nutrition values are estimates and will vary based on ingredients and brands.
Frequently asked questions
Love This Recipe? Discover More Mug Cake Favorites
If this mug cake hit the spot, don’t miss The Ultimate Guide to Mug Cakes. Inside you’ll find small-batch classics, over-the-top flavor combos, and quick fixes for every rubbery or overflowed mug moment. From brownie-style chocolate to bright lemon and gooey cookie dough, there’s a microwave treat for every craving.