Classic Layer Cakes Guide: Master the Art of the Stack
Picture this. You carry a tall, frosted cake to the table, cut that very first slice, and everyone leans in to see the layers. Neat, even stripes of cake and filling. No sliding. No crumbs in the frosting. Just bakery-level drama at your kitchen table.
But if your brain instantly flashes to leaning towers, cracked layers, and frosting that won’t behave, you’re not alone. I still remember my first birthday cake stack listing to one side like it had survived a small earthquake. Total panic.
In this guide, we’re stripping away all of that intimidation. Think of it as a free mini course in classic layer cakes. You’ll learn how to prep pans so cakes release like a dream, how to get flat, stackable layers, and exactly how to nail that mysterious crumb coat everyone talks about.
By the end, you’ll be stacking with real confidence. And actually having fun.
The Architecture of a Perfect Layer Cake
When you see a tall, straight, celebration cake, you’re really looking at good structure. Under the frosting, it’s all about flat, sturdy layers that sit neatly on top of each other and don’t slide around. Think building a house: foundation first, pretty paint later. Same idea here.
We’ll walk through pan prep, how to keep your cakes from doming too much, and why patience with cooling is non-negotiable. Get these three pieces right, and suddenly stacking feels calm instead of chaotic.
Pan Prep: Parchment, Grease & Flour
If your cake sticks to the pan, the game is over before it starts. Clean layers = easy stacking. Torn layers = crumbs everywhere.
Here’s the setup I swear by:
Grease the pan lightly, press in a parchment circle, then grease the parchment and dust with a thin layer of flour or cocoa (for chocolate cakes). Tap out the excess. It takes an extra minute, but it means your layers release in one satisfying flip instead of in chunks.
If you’re baking more than two layers, label the bottoms with a tiny piece of tape so you remember which ones baked together. Nerdy, but helpful.
How To Get Flat, Stackable Layers
Domed cakes may look cute in the pan, but they’re a nightmare to stack. You want flat tops so the layers sit like a stack of pancakes, not a pile of rocks.
You’ve got two main options:
Use cake strips around your pans to help them bake more evenly, or simply trim the domes once the cakes are completely cool. I often do both for very tall celebration cakes.
To trim, place the cooled cake on a turntable or cutting board, eye-level with the layer. Use a long serrated knife and gently saw back and forth just through the dome. Take off as little as you need. And snack on the trimmings while you work. Baker’s treat.
Temperature & Chill Time Before Frosting
Warm cake + soft frosting = sliding disaster. That’s truly all you need to remember.
Let your layers cool in the pans for about 10–15 minutes, then turn them out onto a rack and let them cool completely. No warmth at all in the center. If you have time, wrap the cooled layers in plastic and chill them for at least 30 minutes, or even freeze them for 20–30 minutes.
Cool, slightly firm cake is so much easier to handle. It crumbs less, stacks straighter, and sets you up perfectly for the crumb coat you’ll do next.
The Crumb Coat: Your Secret Weapon
If you’ve ever tried to frost a cake and watched crumbs drag through every swipe of your spatula, meet your new best friend: the crumb coat. It’s the quiet hero of every smooth, bakery-style finish. No one really sees it, but you can always tell when it’s missing.
A crumb coat is simply a very thin layer of frosting that hugs the cake and traps all those loose crumbs. Think of it like primer before paint. First you lock everything in place, then you come back with the pretty, thicker coat. And suddenly your frosting looks clean instead of speckled.
You don’t need special tools or fancy skills to do it. Just a little patience and the right order of steps. Once you’ve done it once or twice, it honestly feels like a magic trick.
What Is A Crumb Coat?
Technically, it’s the “first pass” of frosting. You’re not going for perfection here. You’re just gluing the crumbs down.
You’ll use a small amount of frosting and spread a whisper-thin layer over the top and sides of your stacked cake. Some crumbs will show through. That’s fine. That’s the whole point. The cake should still be visible under the frosting, like a frosted window.
The key is to think light pressure. No aggressive scraping. Just enough to cover the surface and smooth it slightly so nothing is flaking off when you add the final layer.
Step-by-Step: How To Crumb Coat A Cake
- Stack your cooled, leveled layers with a generous layer of frosting or filling between each one. Make sure the layers are centered and the sides are mostly even.
- Do a quick “rough check” from all angles. If one layer is way off, gently nudge it back into place now.
- Add a small dollop of frosting to the top and spread it out just to cover. Let a little spill over the sides.
- Use an offset spatula to pull that frosting down the sides, adding a bit more as needed. You’re aiming for a thin, patchy coat that covers the cake, not a thick, pretty finish.
- Smooth around the sides with a bench scraper or spatula, scraping off the excess. You’ll see crumbs. Totally normal.
- Chill the cake for about 20–30 minutes, or until the frosting feels firm to the touch. This is the crucial part.
Once the crumb coat is set, you can come back with your final, thicker layer of frosting. And it will glide on so much easier. No crumbs. No drama. Just that clean, classic layer cake look.
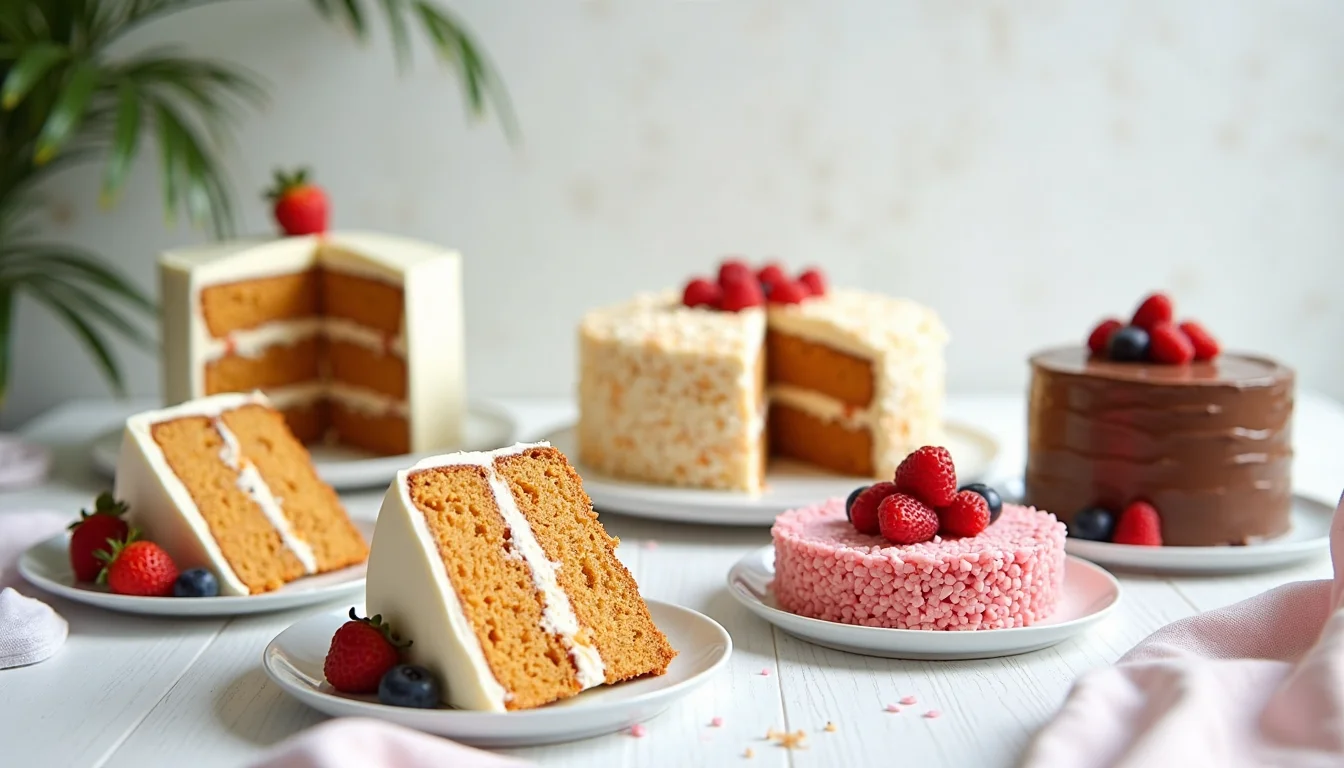
Classic Layer Cake Collection
Once you’re comfortable stacking and crumb coating, it’s time for the fun part. Flavors. These are the classic layer cakes I reach for when I want that big “wow” moment without any weird experiments. Think of this section as your go-to menu for birthdays, holidays, and “just because” weekends.
Each cake below links out to its full recipe, so you can dive straight into the one that’s calling your name. Start with one, then work your way through the whole set. Little personal challenge.
The Ultimate Carrot Cake
Moist, dense, and full of texture, carrot cake is a dream when you’re still building your stacking confidence. The layers are sturdy enough to handle generous fillings, and all the shredded carrots, walnuts, and warm spices keep it tender for days.
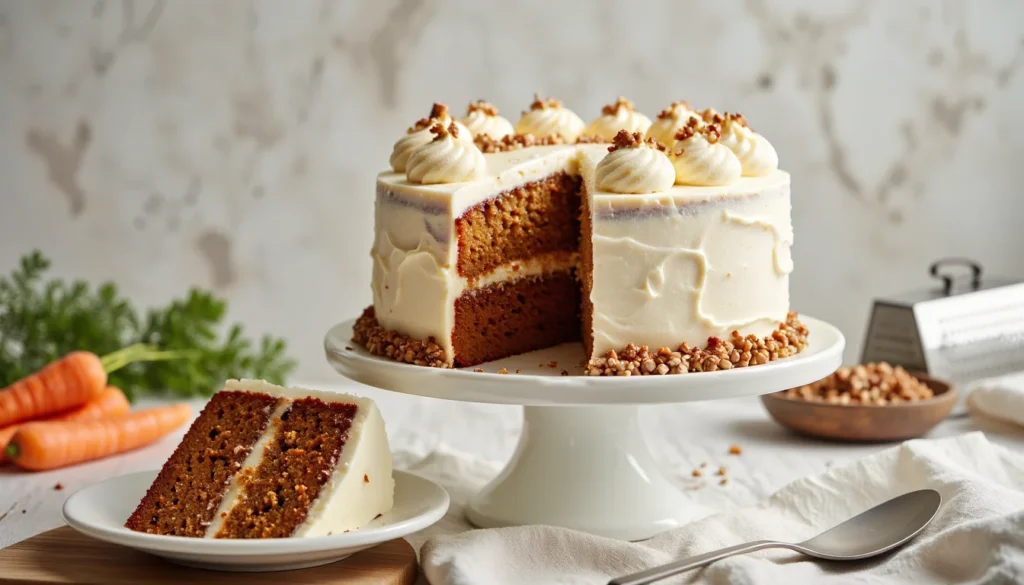
I pair it with a tangy cream cheese frosting that’s thick enough to stay put between layers but soft enough to spread smoothly over the crumb coat. My family asks for this one every Easter, without fail.
Black Forest Cake (Schwarzwälder Kirschtorte)
If you want dramatic, this is it. Tall layers of chocolate sponge, brushed with cherry syrup (and a splash of Kirsch for the grown-ups), stacked with billows of whipped cream and juicy cherries. It tastes like a fancy dessert shop in cake form.
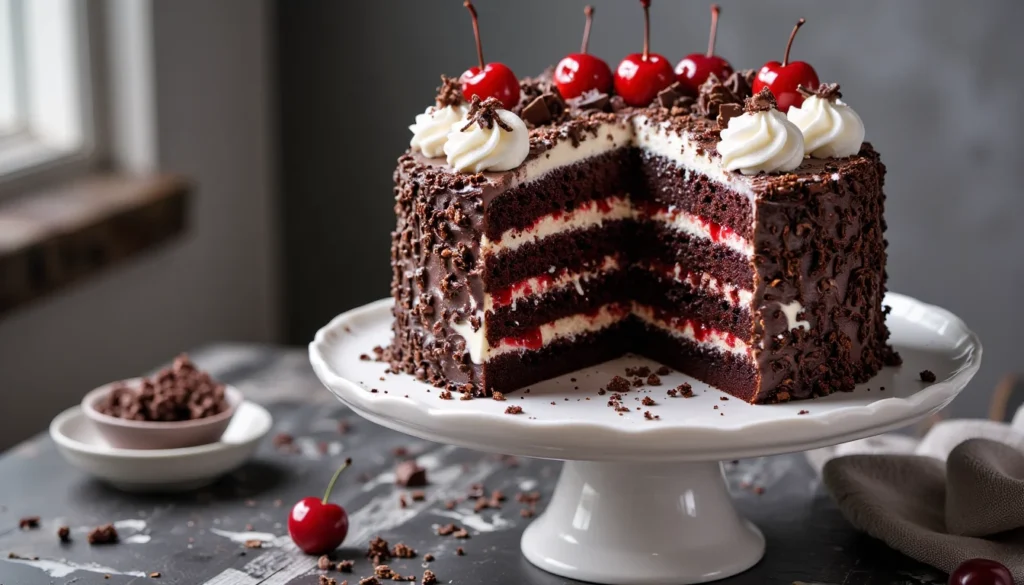
The sponge is light but still strong enough to stack, especially once it’s soaked and chilled. And those messy-looking sides with chocolate shavings? Totally forgiving.
Classic German Chocolate Cake
Despite the name, this one’s pure American comfort. Soft chocolate layers are sandwiched with a rich coconut-pecan custard that acts as both filling and “frosting.” It’s sticky, sweet, and full of bite.
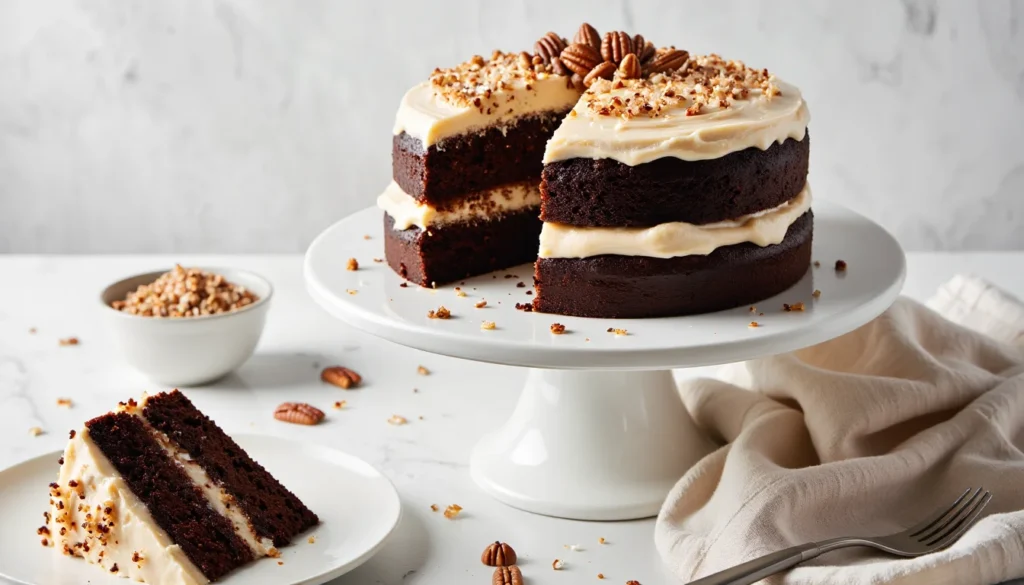
Because most of the decoration happens between the layers and on top, it’s a great starter cake if you’re nervous about super-smooth sides. Lots of texture. Zero pressure.
Southern Hummingbird Cake
Pineapple, ripe bananas, and pecans all in one ultra-moist layer cake. It’s like banana bread and carrot cake had the prettiest Southern baby. I love this one for spring showers and milestone birthdays.
The crumb is tender but not fragile, so it stacks beautifully with cream cheese frosting. And every slice looks like a party.
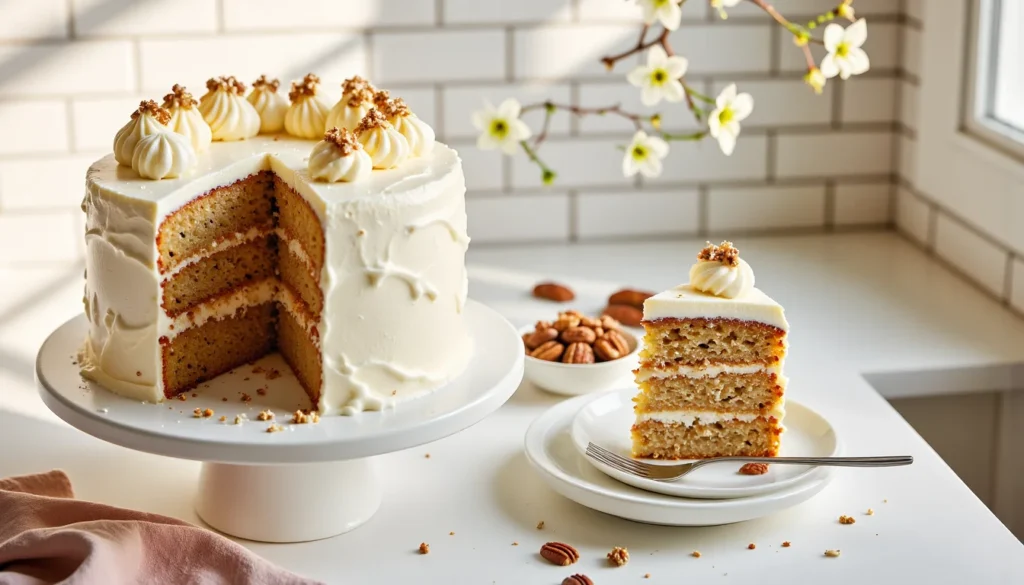
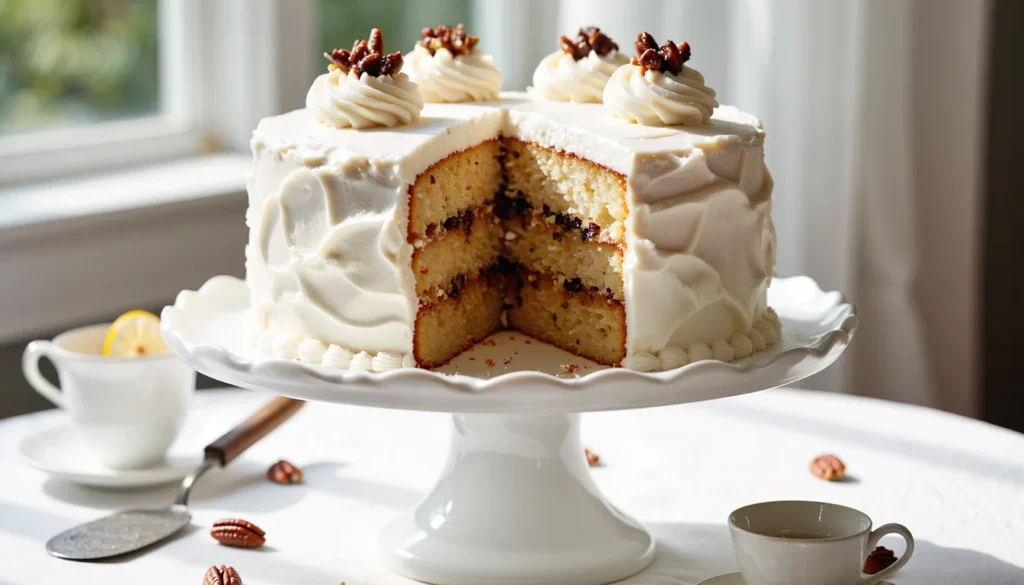
Italian Cream Cake
Elegant, nutty, and rich, this cake is loaded with coconut and finely chopped pecans. The vanilla crumb is soft but tight, which makes slicing clean layers surprisingly easy.
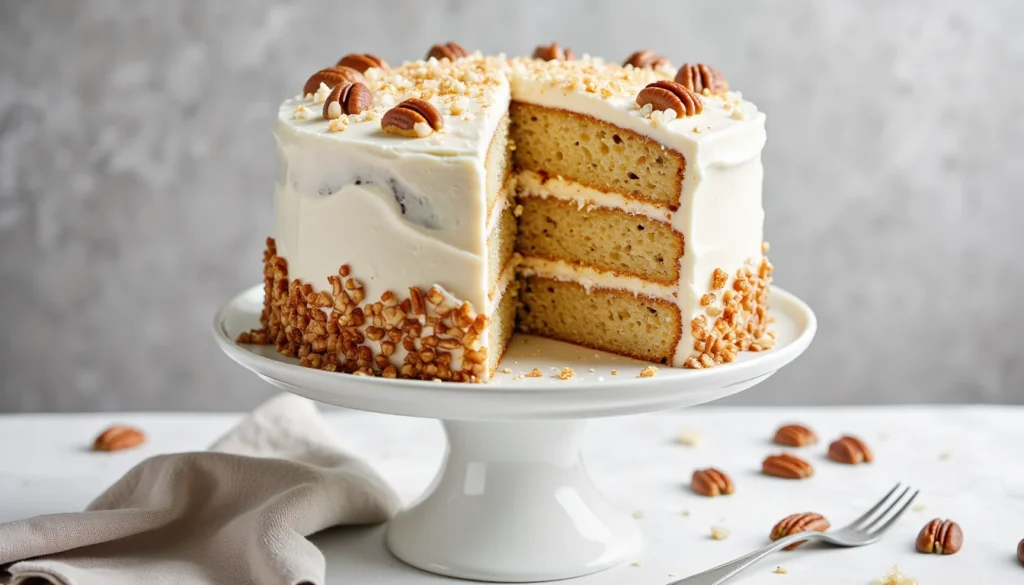
I frost it with a super pale cream cheese or buttercream so the toasted nuts and coconut really pop against the white. It’s one of those “everyone asks for the recipe” cakes.
Old-Fashioned Coconut Layer Cake
This one is pure nostalgia. Fluffy white layers, a light vanilla frosting, and a blizzard of shredded coconut on the outside. It looks like a snowball and tastes like a bakery classic.
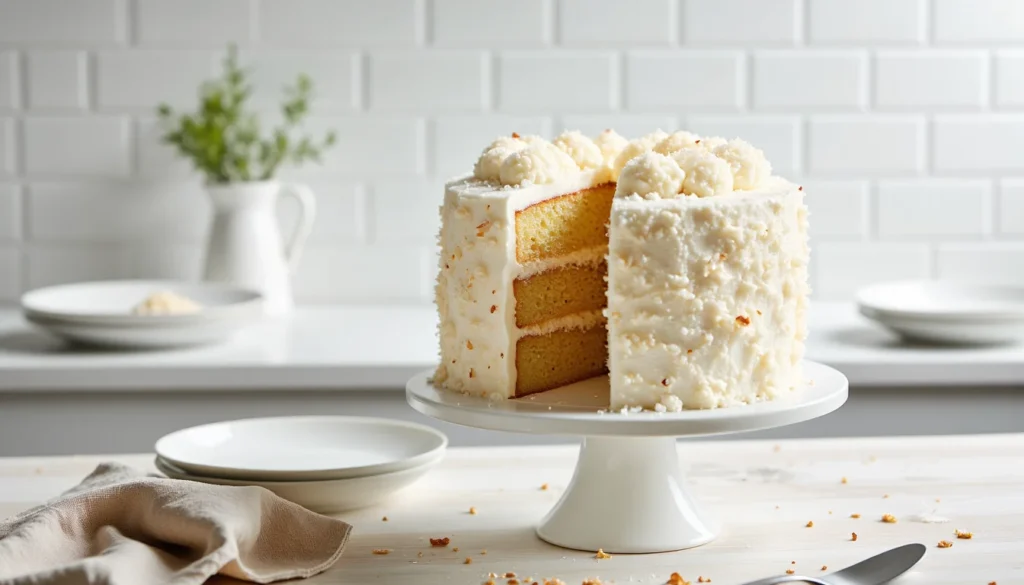
The best part? That coconut coating hides any small frosting imperfections. So if your crumb coat isn’t perfect yet, no one will ever know.
Fresh Strawberry Layer Cake
Pretty in pink and packed with real fruit flavor. The batter and frosting both use a strawberry reduction, so it tastes like actual berries, not candy. Dreamy for spring birthdays and Mother’s Day.
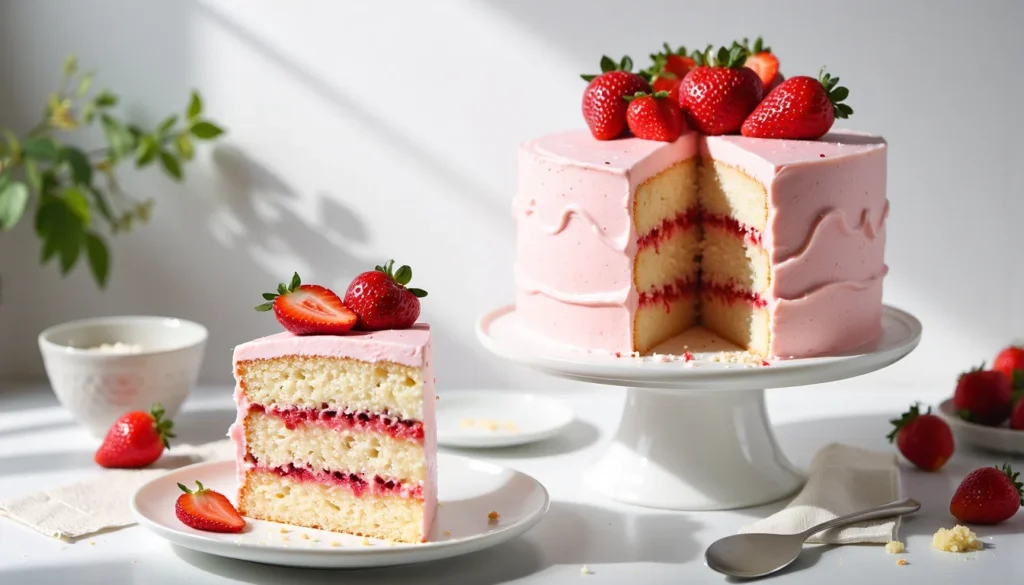
The color alone makes every slice feel special, and the layers stay moist thanks to all that fruit. And yes, it’s incredible with extra fresh strawberries piled on top.
The Best Moist Yellow Cake
Classic birthday vibes in every slice. You get that rich yellow crumb, big vanilla flavor, and the soft, box-mix-style texture everyone secretly loves, but made completely from scratch. Butter and oil tag-team the moisture, so it stays tender for days, not hours.

It’s sturdy enough to stack into a tall celebration cake, but still melts in your mouth under a thick layer of chocolate buttercream. Perfect for birthdays, office cakes, or any time you want a “plain” cake that actually tastes special. Candles practically required.
Authentic Smith Island Cake
If you want drama, this is your showpiece. Thin, pancake-like yellow layers, usually eight to ten tall, each one brushed with glossy cooked chocolate fudge frosting. When you slice it, you get those tight, stripey layers that make everyone stop and stare for a second.
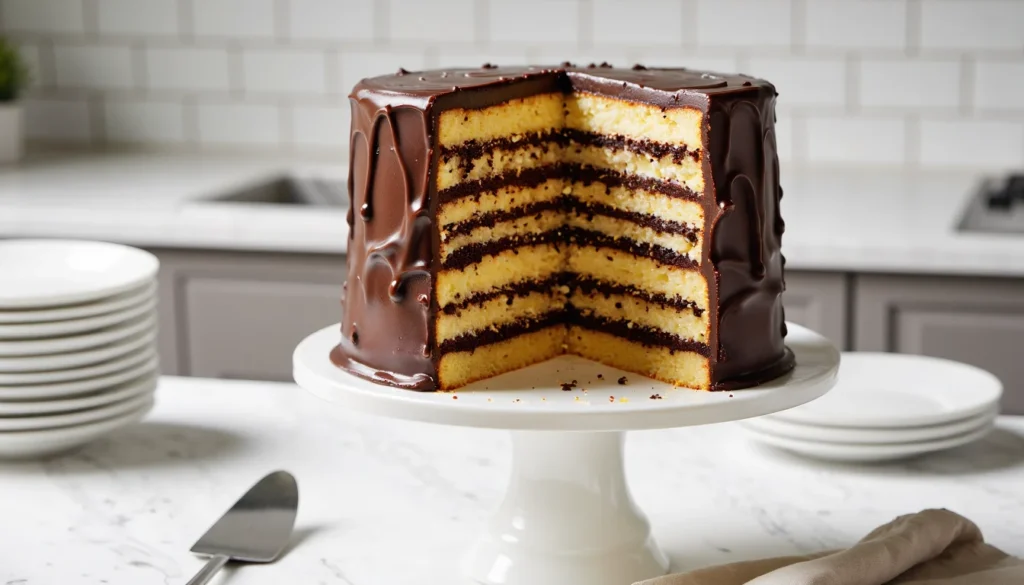
Despite the height, the texture stays surprisingly light and custardy, thanks to the ultra-thin bakes and buttermilk in the batter. It’s a little project, sure, but the payoff is huge. One bite of cake-fudge-cake-fudge all the way down and you’ll understand why Maryland claimed it as their state dessert.
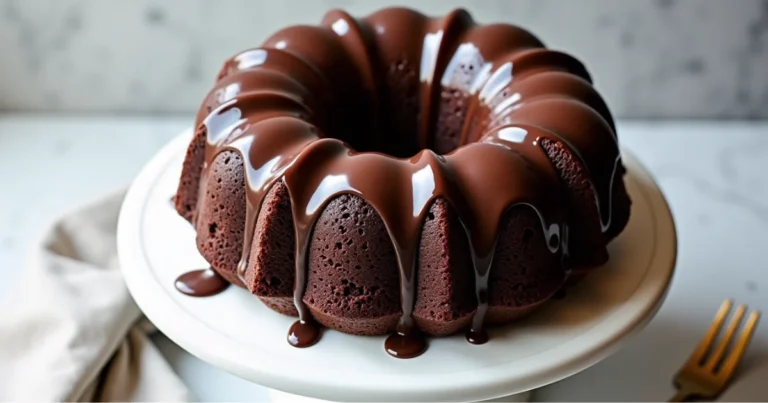
The Best Devil’s Food Cake
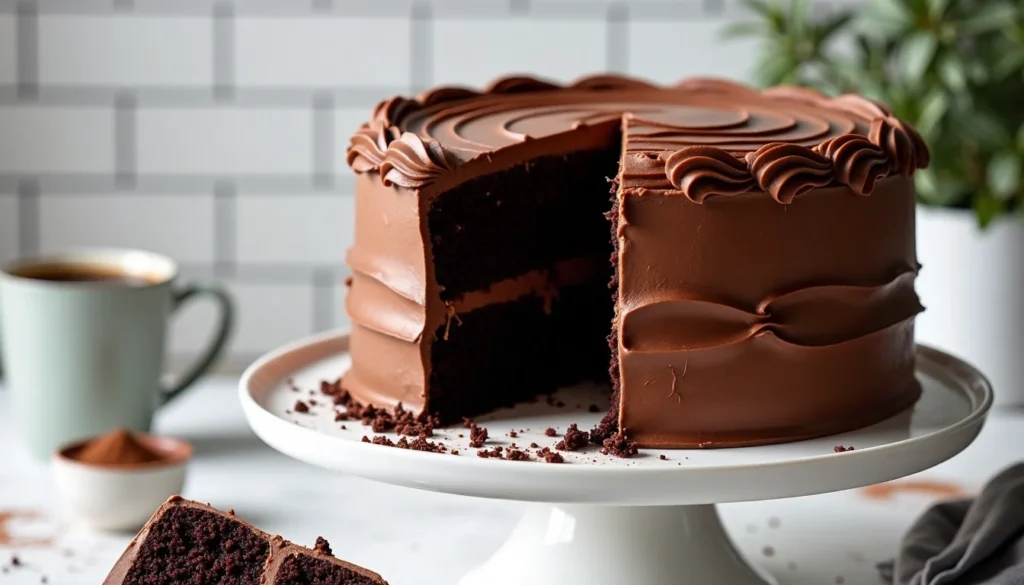
This is your dark-and-stormy option in the classic layer cake lineup: a super moist, deeply chocolaty devil’s food cake made with bloomed Dutch cocoa, hot coffee, and a mix of butter and oil so the crumb stays plush for days. It bakes up tall and tender, perfect for stacking under swirls of rich fudge frosting or a contrast-y vanilla buttercream, and it’s the one you break out when only a true, fork-dragging chocolate layer cake will do.
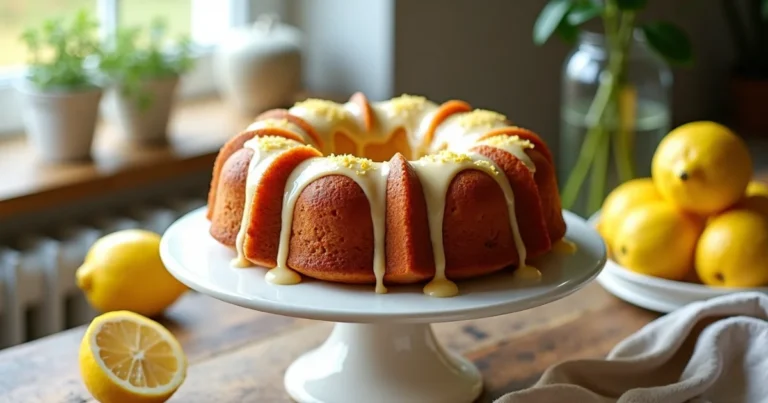
The Best Moist Lemon Layer Cake with Lemon Curd
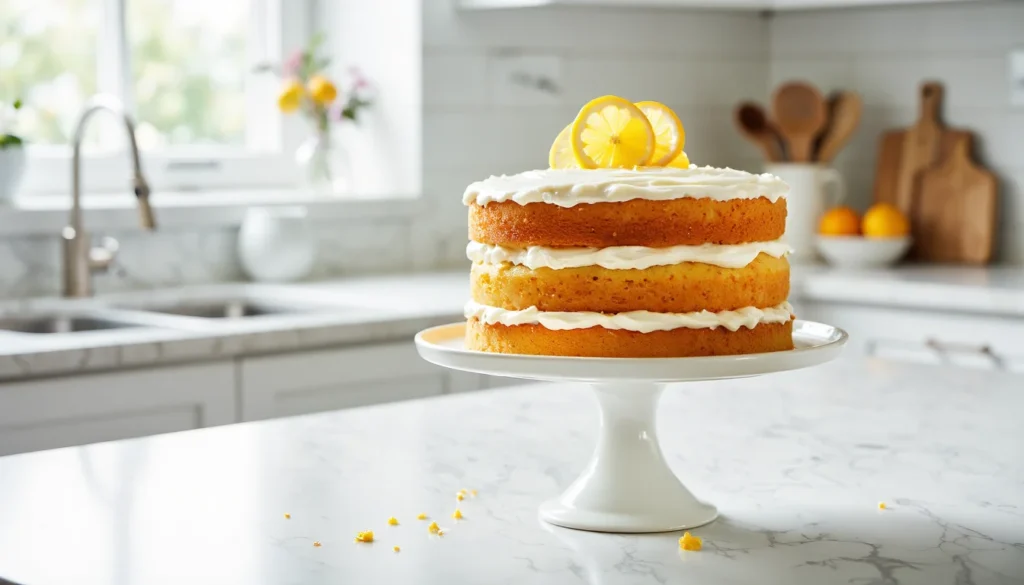
Bright, buttery, and a little bit fancy, this triple-layer lemon cake is all about soft, bakery-style crumb and big citrus flavor. Fresh lemon zest is rubbed right into the sugar, buttermilk and sour cream keep the layers ultra-moist, and a thick buttercream dam holds in ribbons of tart lemon curd so every slice shows clean, sunny stripes. It’s sturdy enough to stack tall, but light enough to feel refreshing after a big meal. Perfect for spring birthdays, showers, and any brunch that needs a showstopper.
Classic Lady Baltimore Cake
This one is pure vintage Southern drama in cake form: tall, tender white layers made with whipped egg whites, a “jewel box” filling of figs, raisins, and toasted nuts soaked in sherry or strong tea, all wrapped in billowy seven-minute frosting that looks like clouds. It slices into elegant, old-fashioned wedges with pockets of chewy fruit and crunch, and feels more like something from a Charleston tea room than a weeknight bake, even though every step is totally doable in a home kitchen.
Authentic Southern Red Velvet Cake
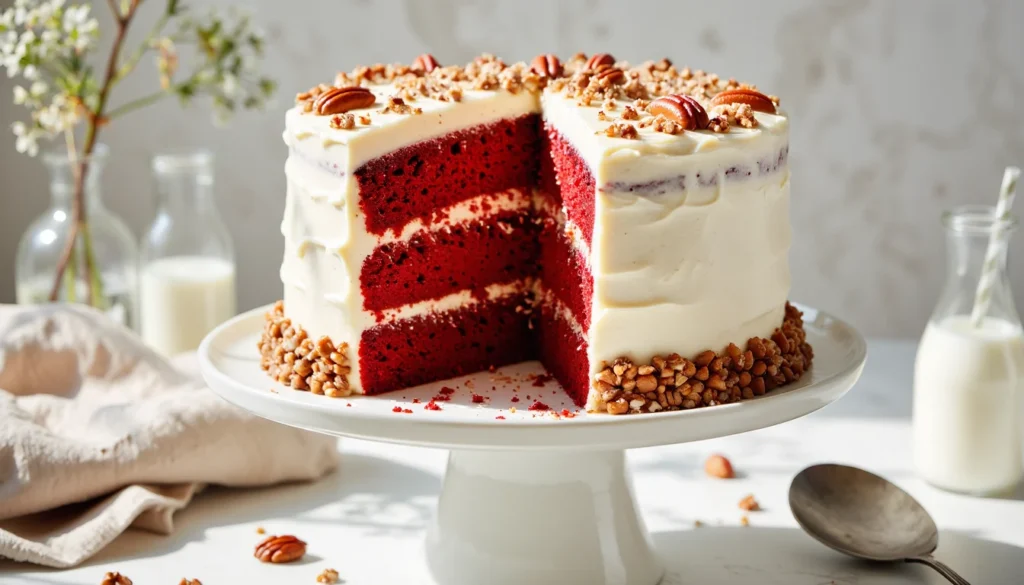
Bright red, super plush, and just tangy enough, this classic Southern red velvet cake walks the line between chocolate and vanilla in the best way. A mix of butter and oil keeps the layers moist for days, while buttermilk, cocoa, and a splash of vinegar create that fine “velvety” crumb everyone loves. Finished with thick swoops of cream cheese frosting, it’s the showstopper you bring to holidays, birthdays, and any gathering where you want people asking for the recipe on their way out the door.
Frosting Pairings & Assembly
Once your layers are baked and cooled, the next big decision is what to slather between and all around them. Frosting is more than just “the sweet stuff on top.” It’s structure, flavor, and decoration all in one. Get the pairing right, and your classic layer cakes taste like they came from a bakery, not a box.
I like to think in two parts: which frosting fits the cake, and how to actually get it between the layers without everything squishing out the sides. Both matter. A lot.
Choosing The Right Frosting
For most home bakers, there are two main players: American buttercream and Swiss meringue buttercream. They both start with butter, but they behave very differently on a tall cake.
American buttercream is the easy, sweet one. Just butter, powdered sugar, a splash of milk or cream, and vanilla. It crusts slightly on the outside, which helps lock everything in place and makes it great for simple decorations. It’s my go-to for kids’ birthday cakes and any time I don’t want drama.
Swiss meringue buttercream is silky, smooth, and much less sweet. You cook egg whites and sugar together, whip them into a glossy meringue, then beat in butter until it turns into the fluffiest frosting cloud. It spreads like a dream and makes super clean sides, but it’s a bit more work and can be fussy in a hot kitchen.
In general, I like:
Carrot, hummingbird, and Italian cream cake with cream cheese or American buttercream.
Lighter sponges, coconut, and strawberry cakes with Swiss meringue or a whipped-style frosting.
And if you love a certain frosting, use it. Your cake, your rules.
Fillings, Dams & No-Drip Layers
The minute you add curd, jam, or custard between layers, gravity gets involved. That’s where a frosting “dam” comes in. It sounds dramatic, but it’s really simple.
After you’ve placed your first layer on the board, pipe a thick ring of frosting just inside the edge, all the way around the top. That’s your dam. Spoon your softer filling (jam, lemon curd, pastry cream) inside that ring and spread it gently so it stays lower than the dam. No overflowing.
Add the next layer and press down very lightly, just until the filling reaches the edges. If you see any gaps, pipe a little extra frosting around the seam and smooth it upward. This not only keeps everything inside, it also helps the sides look tidy when you crumb coat.
Work one layer at a time, repeating frosting dam + filling + gentle press. Take a quick look from all sides before you move on. If anything is sliding, chill the cake for 10–15 minutes and let it firm up before stacking the next layer.
Once your layers are stacked, dammed, and looking straight, you’re ready for that crumb coat and final swirls of frosting. That’s the part everyone sees.
Troubleshooting Common Layer Cake Disasters
Even with the best prep, layer cakes have opinions. They lean. They crack. They shed crumbs like a toddler with a granola bar. The good news: most “disasters” are totally fixable, and usually no one notices once the cake is sliced.
Let’s walk through the big three problems and how to rescue them before the party. Deep breath. You’ve got this.
“My cake is leaning!”
First, check your layers. If one side is visibly thicker, gently trim it down with a serrated knife so each layer is as even as you can make it. Then restack, making sure each layer is centered.
For taller cakes (three or more layers), add support. Push 3–5 bubble tea straws or wooden dowels straight down through the cake, spaced in a circle about an inch in from the edge. Trim them to the cake’s height before inserting. They act like tiny columns and keep everything from sliding. I’ve saved more than one birthday cake this way at the very last minute.
“The frosting is tearing the cake!”
If your spatula is lifting chunks of cake, one of two things is happening: the cake is too soft, or the frosting is too stiff. Sometimes both.
Pop the stacked cake into the fridge or freezer for 15–20 minutes so the layers firm up. While it chills, thin your frosting with a teaspoon or two of milk or cream until it spreads easily. Then try again, starting with a light crumb coat. Gentle pressure. No aggressive scraping.
“There’s a gap between layers.”
Tiny gaps happen when layers aren’t perfectly level or you didn’t quite use enough filling. Luckily, frosting is basically edible spackle.
Use a piping bag or small spatula to push extra frosting into the gap, working from the bottom up. Scrape the excess off the outside and then crumb coat as usual. Once the final layer of frosting goes on, no one will ever know there was a canyon there. Promise.
And if you’re mid-crisis thinking, “Why did I sign up for layers at all?”, it’s okay to bookmark this and head to an easier option next time, like one of my simple sheet cakes or poke cakes. Practice on those, then come back to your tall, classic showstoppers.
Classic Layer Cake FAQ
Conclusion
So now you’ve got the whole playbook. From pan prep and flat layers to crumb coats, frosting dams, and emergency dowel support, you’re no longer just “hoping” your layer cakes behave. You know exactly what’s happening under all that frosting.
The fun part is choosing where to start. Maybe it’s the ultra-moist carrot cake for Easter, a coconut snowball for Christmas, or that fresh strawberry layer cake for a spring birthday. Pick one classic, practice the stack and crumb coat, and don’t stress about perfection. Slightly crooked cakes still taste amazing.
Every time you bake another layer cake, these steps will feel less like a checklist and more like muscle memory. Level, stack, dam, crumb coat, chill, final frost. Easy rhythm.
And on the days when tall cakes feel like too much, you can always swing back to something simpler, like a cozy snack cake, a poke cake, or an easy sheet cake. But when you’re ready for a showstopper again, you’ll know exactly how to build it tall, straight, and celebration-ready.