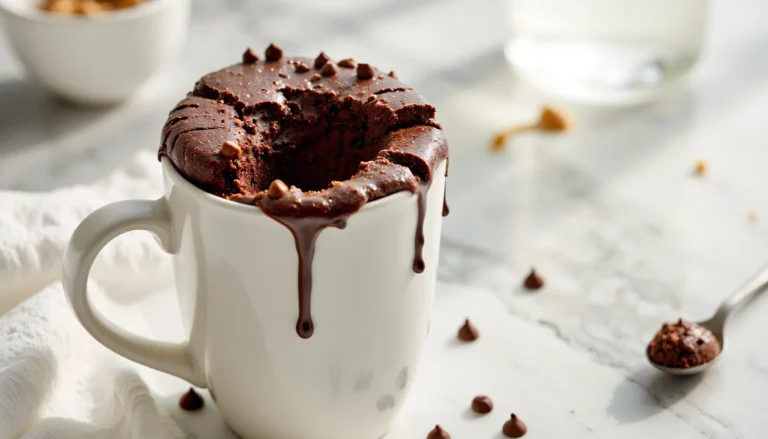
Chocolate Chip Mug Cake (No Egg & Ready in 1 Minute)
It always hits around 9:47 p.m.
Sink is full, dishwasher’s running, and suddenly you’d trade your left sock for something warm and chocolatey you can eat with a spoon. Same. That’s exactly when this chocolate chip mug cake comes in clutch.
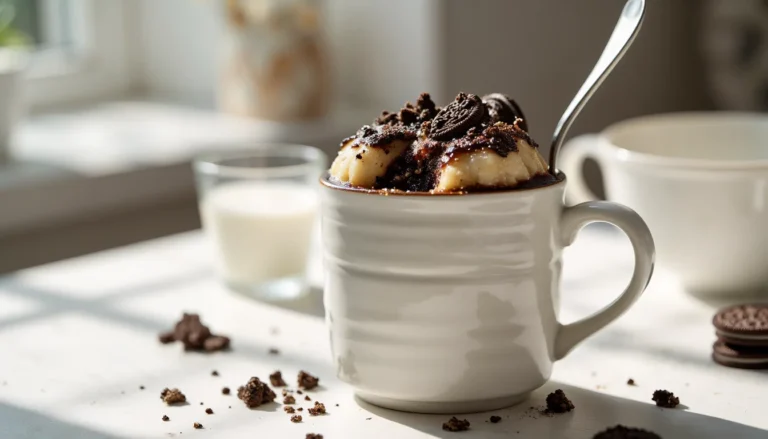
You whisk everything right in the mug, pop it in the microwave, and about a minute later you’ve got a soft, vanilla cookie-meets-cake situation with melty chocolate chips on top. No eggs, no mixer, no giant sink-full of bowls. Just you, a mug, and a spoon.
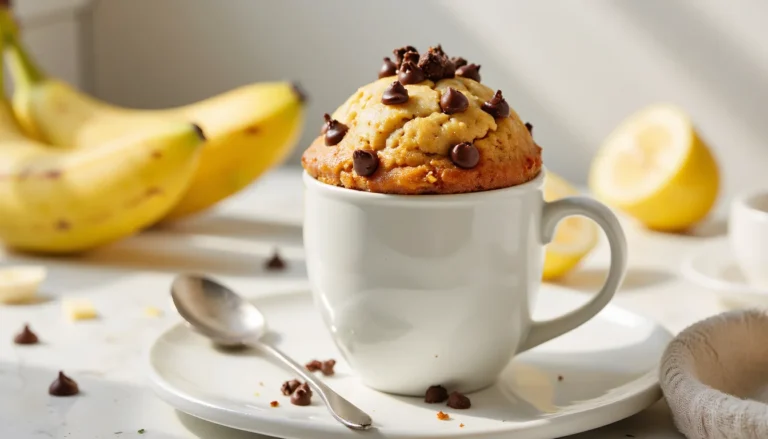
And if you just realized there’s a sad brown banana on the counter, you can always hop over to my Banana Mug Cake instead. But for pure cookie-cake comfort in five minutes? This one’s your new go-to.
Craving more cozy single-serve desserts? Head over to The Ultimate Guide to Mug Cakes for flavor ideas, timing tricks, and troubleshooting all in one place.
Why This Recipe Works (And Why No Egg?)
If you’ve ever made a mug cake that turned out chewy or oddly spongey, you’ve met the egg problem. In a full-size cake, eggs help build structure. But in a tiny single serving that cooks in about a minute, that same egg can turn the texture rubbery and, honestly, a little omelet-like. Not cute.
Here, milk + baking powder do the lifting instead. The baking powder gives the batter just enough rise, while the milk adds moisture so the crumb stays soft and fluffy. No aggressive egg proteins to overcook in the microwave. No weird bounce.
Brown sugar is the other secret weapon. It melts into the warm butter and brings moisture and that deep, caramelly, chocolate chip cookie flavor. White sugar would work, but you’d lose that cozy toffee vibe that makes this taste like a cookie in cake form. Big difference in one spoonful.
And then there’s the butter. Melted right in the mug, it coats the flour and keeps the texture tender instead of dry. Butter also carries flavor better than oil, so every bite tastes rich and bakery-level. If you’re out of butter, you can swap in oil, but butter is what makes this taste like dessert and not just “sweet bread in a mug.”
Finally, the method is built for real life. You stir everything together in one mug, in a very specific order, so the sugar dissolves, the flour hydrates, and there are no sad flour streaks at the bottom. Two minutes of effort, tops. By the time your show un-pauses or the kids finally fall asleep, your chocolate chip mug cake is already puffed, cozy, and ready to eat.
Ingredients & Substitutions
Here’s everything you need for one cozy mug of cookie-ish cake. Nothing fancy. Just pantry stuff.
All-purpose flour
Use regular all-purpose flour, not self-rising. Measure ¼ cup by spooning flour into the measuring cup and leveling it off with a knife. Scooping straight from the bag packs it in and can make your mug cake dry and tough. Tiny mug, tiny margin for error.
If you’re gluten free, a 1:1 gluten-free baking blend usually works well here. Look for one that already includes xanthan gum.
Brown sugar
Light brown sugar is my favorite because it gives that classic chocolate chip cookie flavor without being too heavy. Dark brown sugar works if that’s what’s in the jar; your cake will just taste a little more molasses-y and deeper.
You can swap half the brown sugar for white sugar in a pinch, but I don’t recommend skipping the brown sugar completely. You’d lose that soft, moist crumb and cookie vibe.
Butter
Melted butter = big flavor. It keeps the texture tender and makes the whole kitchen smell like a bakery. I usually use unsalted butter, but salted butter works too. If you use salted, just skip the extra pinch of salt in the recipe.
Need a dairy-free option? Use a neutral oil like canola or light olive oil instead of butter. The texture will stay soft, but you’ll miss a bit of that buttery cookie taste. Still good though.
Milk
Whole milk, 2%, or even 1% all work here. Use whatever you pour into your coffee. Dairy-free milks like oat, soy, or almond also work, as long as they’re unsweetened and plain.
Vanilla
Half a teaspoon of vanilla extract doesn’t seem like much, but it really sells the “cookie in a mug” flavor. Skip it and the cake will taste noticeably flatter.
Chocolate chips
I like mini semi-sweet chocolate chips because they spread through the batter instead of sinking straight to the bottom. Regular chips are fine too; just know you’ll have a few more pockets of chocolate instead of lots of tiny bits. My kids vote for extra on top, so I always reserve a teaspoon to sprinkle over the batter before microwaving. Worth it.
Step-by-Step Instructions
Here is exactly how I make this chocolate chip mug cake when the craving hits and I do not want extra dishes. You do everything right in the mug.
1. Choose the right mug
Grab a microwave safe mug that holds at least 10 to 12 ounces. Taller is better than wide here. Anything smaller risks bubbling over, and nobody wants to scrub baked-on batter off the turntable. If your mug is very thick or stoneware, it may need a few extra seconds.
2. Melt the butter
Add 2 tablespoons of butter to the mug. Microwave for about 20 to 30 seconds, just until melted. It should be liquid but not sizzling. If it starts to splatter, stop and give it a swirl. Hot mug alert. The handle can heat up fast, so use a towel if needed.
3. Whisk in the wet ingredients
To the warm butter, add the brown sugar, milk, and vanilla. Use a fork or mini whisk to stir until the sugar starts to dissolve and the mixture looks smooth and glossy. This is your flavor base. If you see thick sugar paste on the bottom, keep stirring for a few extra seconds.
4. Add the dry ingredients
Sprinkle the flour, baking powder, and a pinch of salt evenly over the wet mixture. Do not dump it all in one big pile if you can help it. Using your fork, gently stir until you no longer see streaks of dry flour.
Important: scrape the fork along the bottom edges of the mug to catch any flour hiding in the corners. That is where sneaky dry pockets like to live. Stop as soon as the batter looks smooth. Overmixing leads to a tougher texture.
5. Fold in the chocolate chips
Stir in most of the chocolate chips, leaving a small spoonful to sprinkle on top. Just a few gentle folds so they are distributed throughout the batter. Then smooth the top a bit and scatter the remaining chips over the surface. They will melt into shiny little puddles.
6. Microwave
Place the mug in the center of the microwave. For an average 1000 watt microwave, start with 60 seconds. The top should look set and dry around the edges, with maybe a tiny bit of shine in the very center. If the top still looks wet and soupy, microwave in 5 to 10 second bursts, checking after each one.
Remember, it will keep cooking as it sits, so err on the side of slightly under rather than over.
7. Rest and serve
Let the mug cake stand for about 2 minutes. This short rest helps the crumb finish setting and saves your tongue from a molten chocolate situation. Then grab a spoon, add a scoop of ice cream or whipped cream if you like, and dig straight in. Cozy dessert for one, solved.
The Secret to Perfect Texture (Avoid the “Rubber”)
The line between fluffy and rubbery in a mug cake is very thin. Like, 10 seconds thin. The good news is you can control it once you know what to look for.
First, mixing. Mug cakes hate being overworked. Once you add the flour, stir just until you no longer see dry streaks. That is your stop sign. Any extra stirring after that builds too much gluten and you end up with a chewy, bouncy sponge instead of a soft, cake-y crumb. I literally count to 15 gentle stirs and quit.
Next, cooking time. The microwave heats from the inside out, and the cake keeps cooking even after you pull it out. So if you wait until it looks completely dry and firm in the center, it will be overdone by the time you grab a spoon.
You want the top to look set around the edges and mostly dry on top, but the very center can look slightly shiny. Not liquid. Just a little glossy. It should spring back lightly when you tap it with your fingertip. If your finger comes away with wet batter, pop it back in for 5 to 10 seconds.
Microwave wattage matters a lot too. Here is a simple guide:
- About 800W: 75 to 90 seconds
- About 1000W: 60 to 70 seconds
- About 1200W: 45 to 55 seconds
Always start on the low end of the range. You can add time, but you cannot undo a dry, overcooked mug cake. And remember, thicker mugs and very cold milk can both add a few seconds.
Finally, let it rest. That 1 to 2 minute pause after cooking is not optional. It allows the crumb to finish setting and the chocolate chips to cool just enough that you do not scorch your taste buds. Two minutes of patience. Totally worth it.
Common Troubleshooting
Even with a super simple mug cake, a few little things can go sideways. Here’s how to fix the usual suspects so you still end up with a cozy, gooey treat instead of a sad sponge.
“Help, it overflowed!”
Two main culprits: the mug or the baking powder. If your mug holds less than 10 ounces, the batter doesn’t have room to rise, so it climbs right over the edge. Next time, grab a larger, taller mug and fill it no more than halfway with batter.
If your mug is big enough, check your baking powder. If it’s extremely fresh (or you accidentally added extra), it can make the cake rise too hard, too fast. Level that ¼ teaspoon with a knife instead of eyeballing it.
“Why is my mug cake dry?”
Most likely: too much flour or too long in the microwave. Mug cakes really punish heavy-handed measuring. Make sure you’re spooning flour into the cup and leveling it off instead of digging the cup straight into the bag.
On the cook time side, remember your microwave might run hotter than mine. If the top looks totally dry and the sides are pulling far away from the mug, it’s overcooked. Start with the lower time range and use just 5-second bursts to finish. Tiny tweaks. Big difference.
“The texture is dense or gummy.”
This usually comes from overmixing. Once you add the flour, think “gentle stir.” Stop as soon as you don’t see dry bits. Also double-check that your baking powder is still active: if it’s older than a year or has been stored open, it may not give enough lift.
“All my chocolate chips sank to the bottom.”
Classic mug cake move. Using mini chips helps them stay suspended better. You can also toss the chips with a pinch of flour before folding them in, then reserve a teaspoon to sprinkle over the top. That way, even if a few sink, you still get a nice puddle of chocolate right on the surface.
And if all else fails, add a scoop of vanilla ice cream on top. Covers a lot of sins.
Variations
Once you’ve mastered the basic cookie-in-a-mug, it’s way too easy to start playing. A little tweak here, a handful of something there, and you’ve got a whole new dessert without pulling out a single extra bowl. Dangerous. In the best way.
Double chocolate
Craving more chocolate-on-chocolate? Stir 1 teaspoon of unsweetened cocoa powder into the flour before mixing it in. Because cocoa can dry things out a bit, add an extra teaspoon of milk to keep the texture soft. Use chocolate chips or even chocolate chunks and you’ve got a mini brownie-cookie hybrid in a mug.
Extra gooey center
If you like a slightly molten middle, undercook by about 5 to 10 seconds and tuck a few extra chocolate chips (or a small square of chocolate) right in the center of the batter before microwaving. Let it rest the full 2 minutes, then dig in to that gooey core. Messy spoon. Totally worth it.
Nutty crunch
Fold in 1 to 2 tablespoons of chopped walnuts, pecans, or almonds along with the chocolate chips. Nuts toast a bit in the hot batter, so you get little pockets of crunch against the soft cake. My husband always asks for the “walnut version” when there’s a game on and he wants a snack that isn’t just chips.
Gluten free
Use your favorite 1:1 gluten free baking blend instead of the regular flour. Make sure it’s labeled “measure for measure” or “cup for cup” so it behaves like all purpose. The rest of the recipe stays the same.
Simple topping ideas
Keep it classic with vanilla ice cream, a swirl of whipped cream, or a drizzle of chocolate or caramel sauce. A pinch of flaky sea salt on top of the melty chips is also shockingly good. And if you’re more in a peanut butter or cookies n’ cream mood, you can hop over to my Peanut Butter Mug Cake or Oreo Mug Cake for full flavor twists.
Chocolate Chip Mug Cake Printable Recipe Card

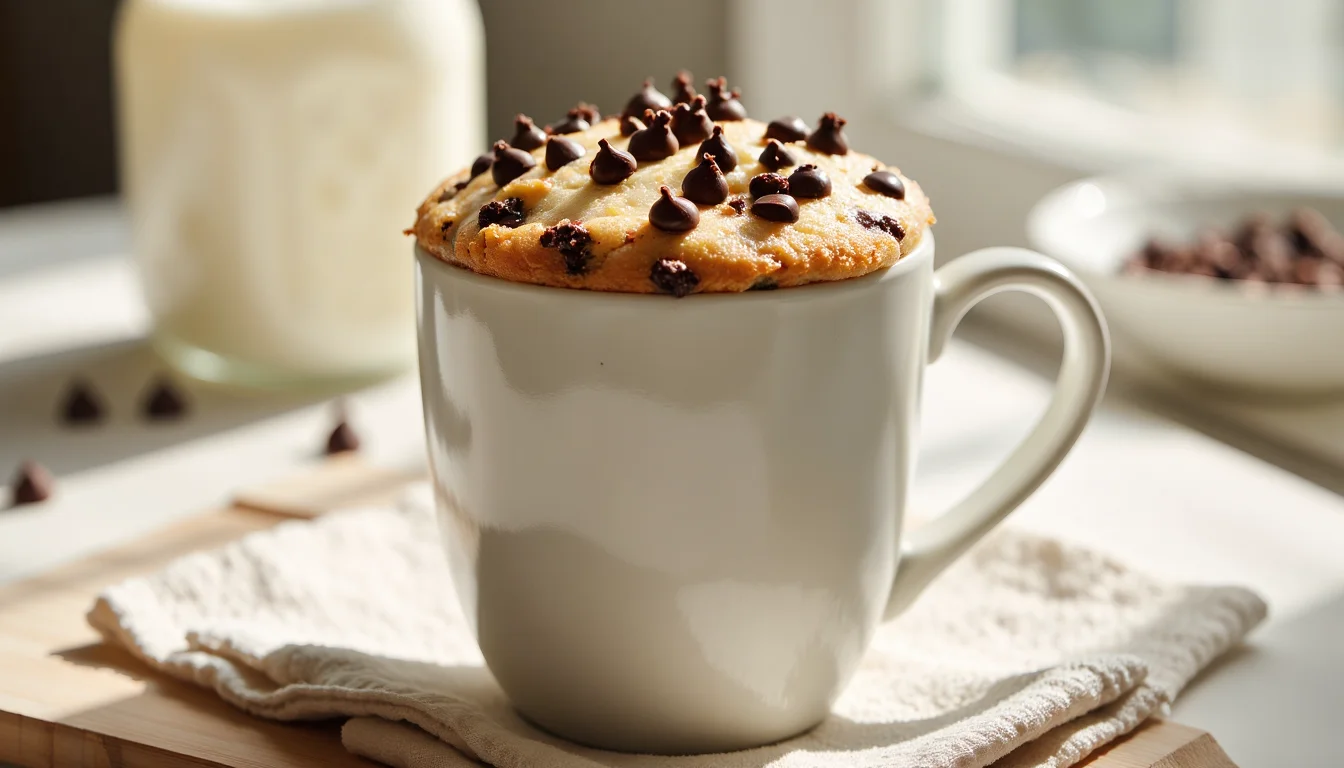
Fluffy Chocolate Chip Mug Cake (No Egg)
Single-serving chocolate chip cookie cake you mix right in the mug and cook in the microwave. Soft, fluffy, and loaded with melty chocolate chips. Ready in about 5 minutes, no egg required.
Ingredients
- 2 tablespoons unsalted butter, melted
- 2 tablespoons packed light brown sugar
- 3 tablespoons milk (whole or 2 percent preferred)
- 1/2 teaspoon pure vanilla extract
- 1/4 cup all purpose flour, spooned and leveled
- 1/4 teaspoon baking powder
- Pinch fine sea salt
- 2 tablespoons semi sweet chocolate chips (mini chips preferred)
Instructions
- Choose a microwave safe mug that holds at least 10 to 12 ounces. The batter should fill it no more than halfway so it has room to rise.
- Add the butter to the mug and microwave for 20 to 30 seconds, just until melted. It should be liquid but not sizzling. Let it cool for a few seconds if it seems very hot.
- Whisk in the brown sugar, milk, and vanilla until the mixture looks smooth and the sugar starts to dissolve, scraping the bottom of the mug with your fork.
- Sprinkle the flour, baking powder, and salt evenly over the wet mixture. Gently stir just until no dry streaks of flour remain, making sure to scrape along the bottom and sides of the mug. Do not overmix.
- Fold in most of the chocolate chips with a few gentle stirs, then smooth the top of the batter and sprinkle the remaining chips over the surface.
- Microwave on high until the top looks set and mostly dry around the edges. In an average 1000 watt microwave this is usually 60 to 70 seconds. If the center still looks very wet, microwave in additional 5 to 10 second bursts.
- Let the mug cake rest on the counter for 1 to 2 minutes so the crumb can finish setting and the chocolate cools slightly. Serve warm straight from the mug, with ice cream or whipped cream if you like.
Notes
- Use a mug that holds at least 10 to 12 ounces so the batter has room to rise without overflowing. Wide shallow mugs cook a bit faster than tall thick mugs.
- Microwave wattage guide: about 800W 75 to 90 seconds, about 1000W 60 to 70 seconds, about 1200W 45 to 55 seconds. Always start on the low end then add a few seconds only if needed.
- For a dairy free option, swap the butter for neutral oil and use a non dairy milk. The texture stays soft but you will lose a little buttery cookie flavor.
- To help prevent chocolate chips from sinking, use mini chips and save a teaspoon to sprinkle on top. You can also toss the chips with a pinch of flour before folding them in.
- To make it extra gooey, undercook the cake by about 5 seconds and tuck a few extra chips or a small square of chocolate in the center of the batter before microwaving.
- Gluten free version: use a 1 to 1 gluten free baking blend that is labeled cup for cup in place of the all purpose flour.
- Oven instructions: bake the batter in an oven safe mug or ramekin at 350°F for about 12 to 14 minutes, until the top looks set and a toothpick near the edge comes out with a few moist crumbs.
- Serve the mug cake warm on its own or topped with vanilla ice cream, whipped cream, a drizzle of chocolate or caramel sauce, and a pinch of flaky sea salt.
Nutrition Information:
Yield: 1 Serving Size: 1 MugAmount Per Serving: Calories: 520Total Fat: 32gSaturated Fat: 19gCarbohydrates: 60gSugar: 42gProtein: 7g
Nutrition values are estimates and will vary based on ingredients and brands.
FAQ
Love This Recipe? Discover More Mug Cake Favorites
If this mug cake hit the spot, don’t miss The Ultimate Guide to Mug Cakes. Inside you’ll find small-batch classics, over-the-top flavor combos, and quick fixes for every rubbery or overflowed mug moment. From brownie-style chocolate to bright lemon and gooey cookie dough, there’s a microwave treat for every craving.